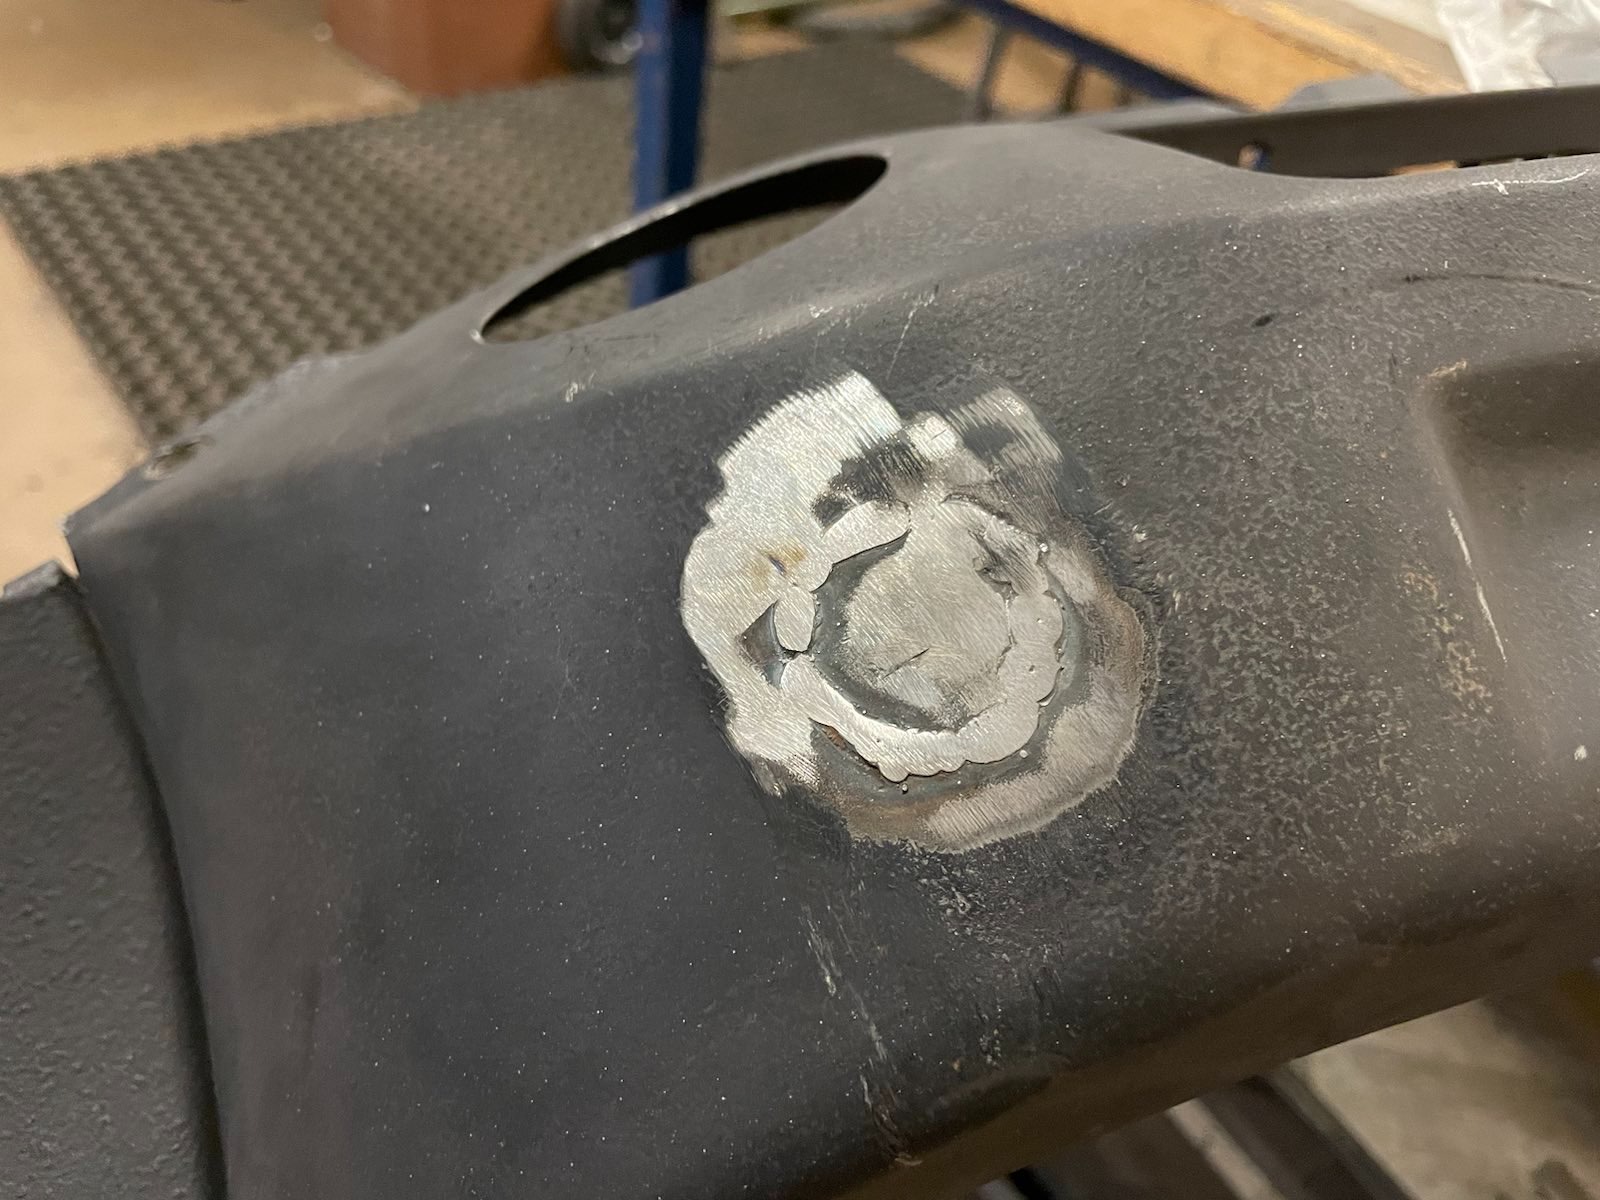
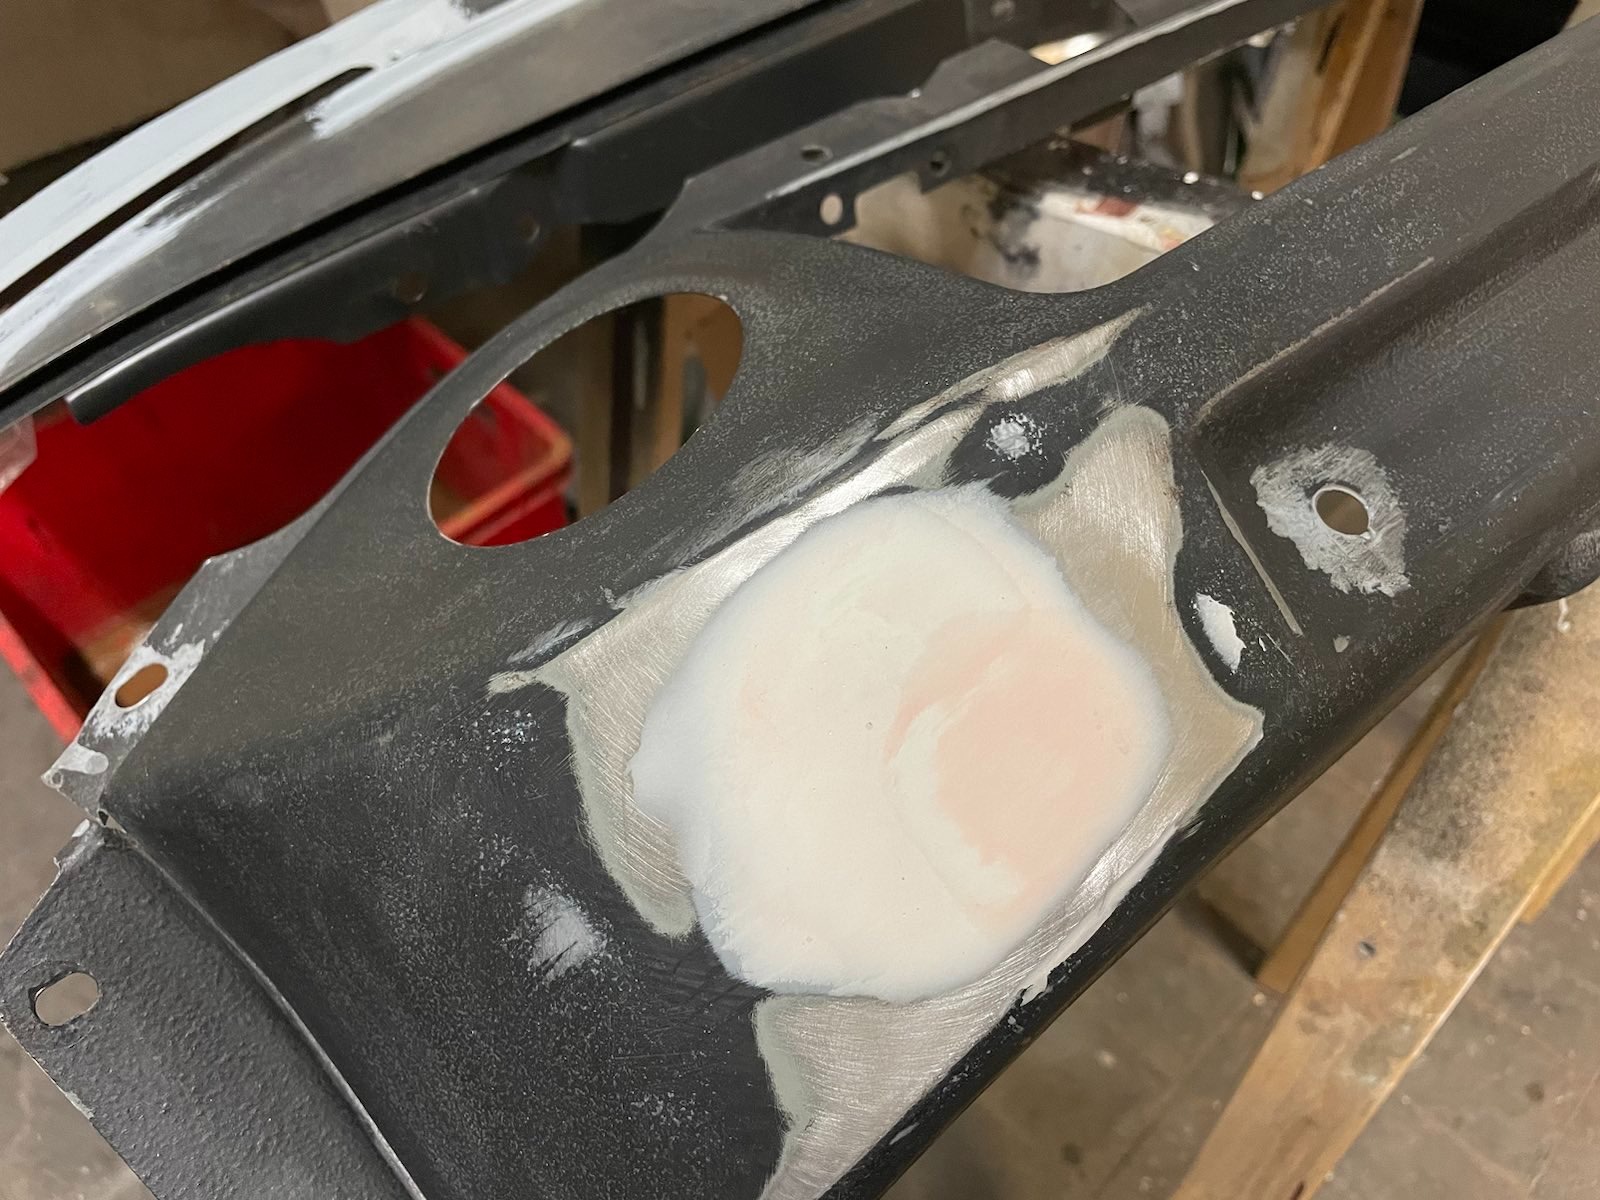
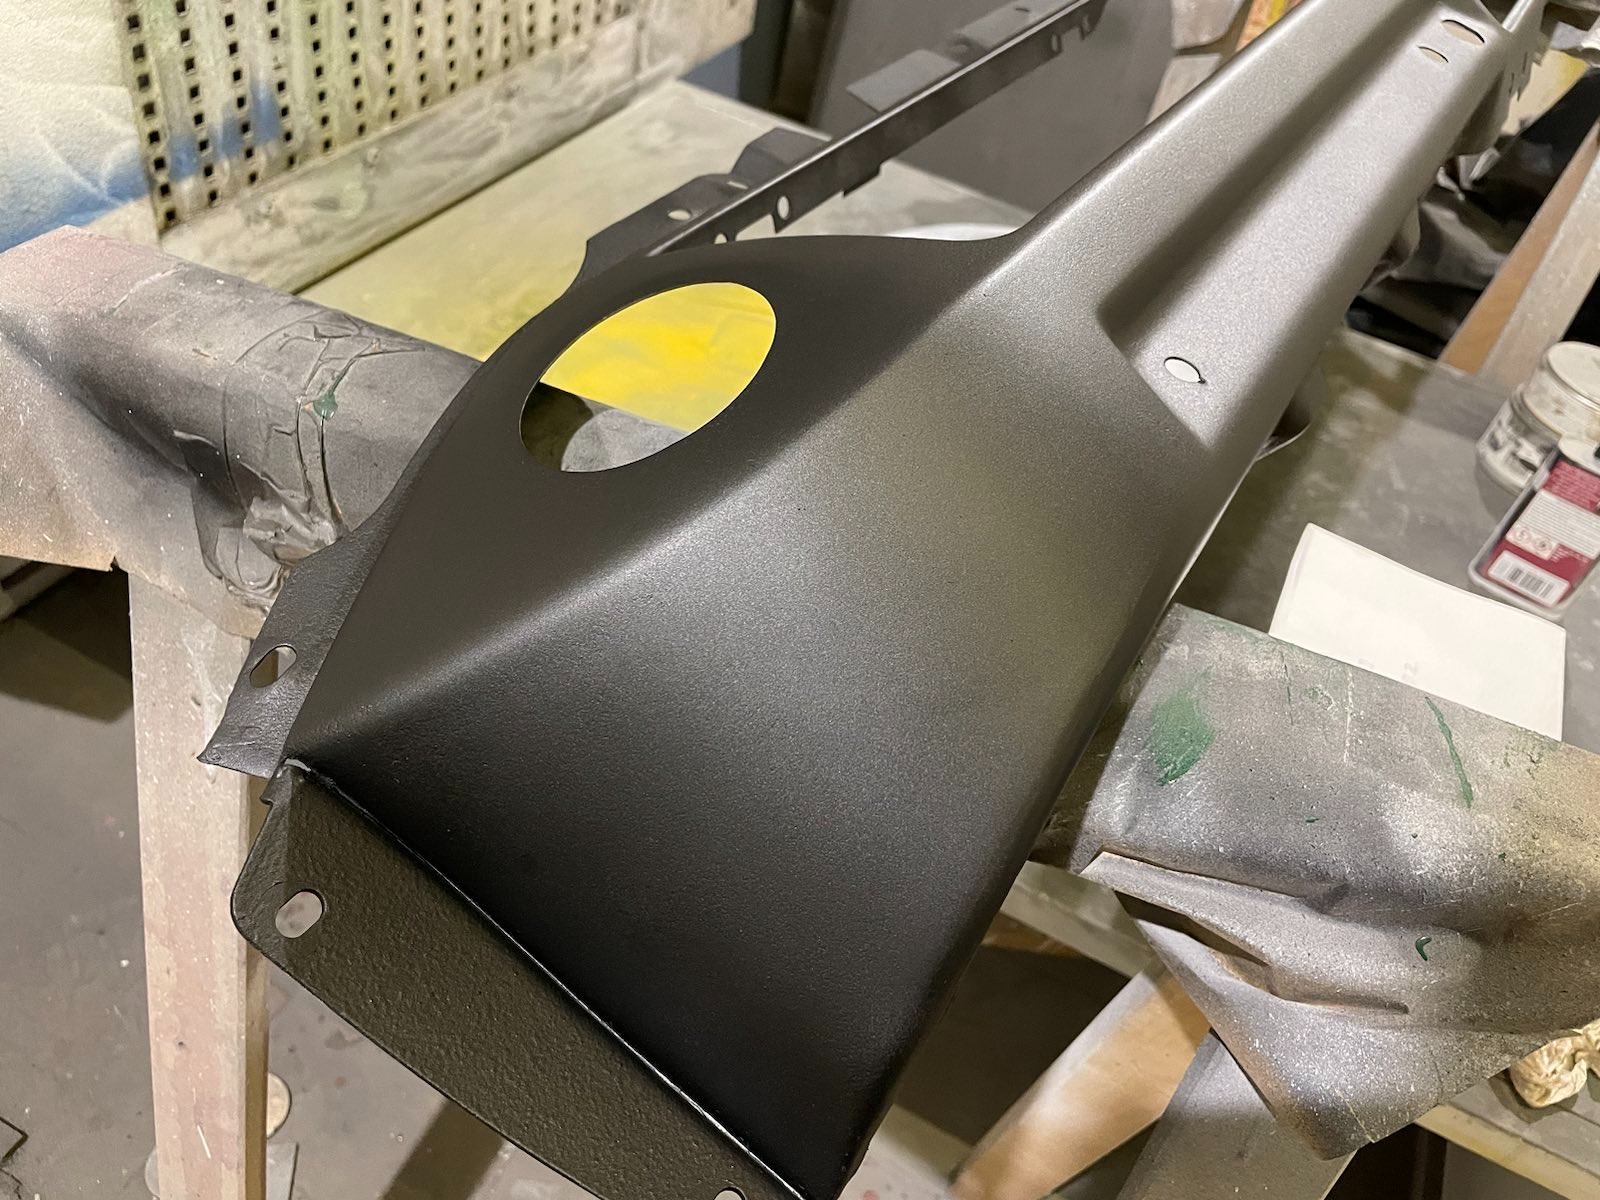
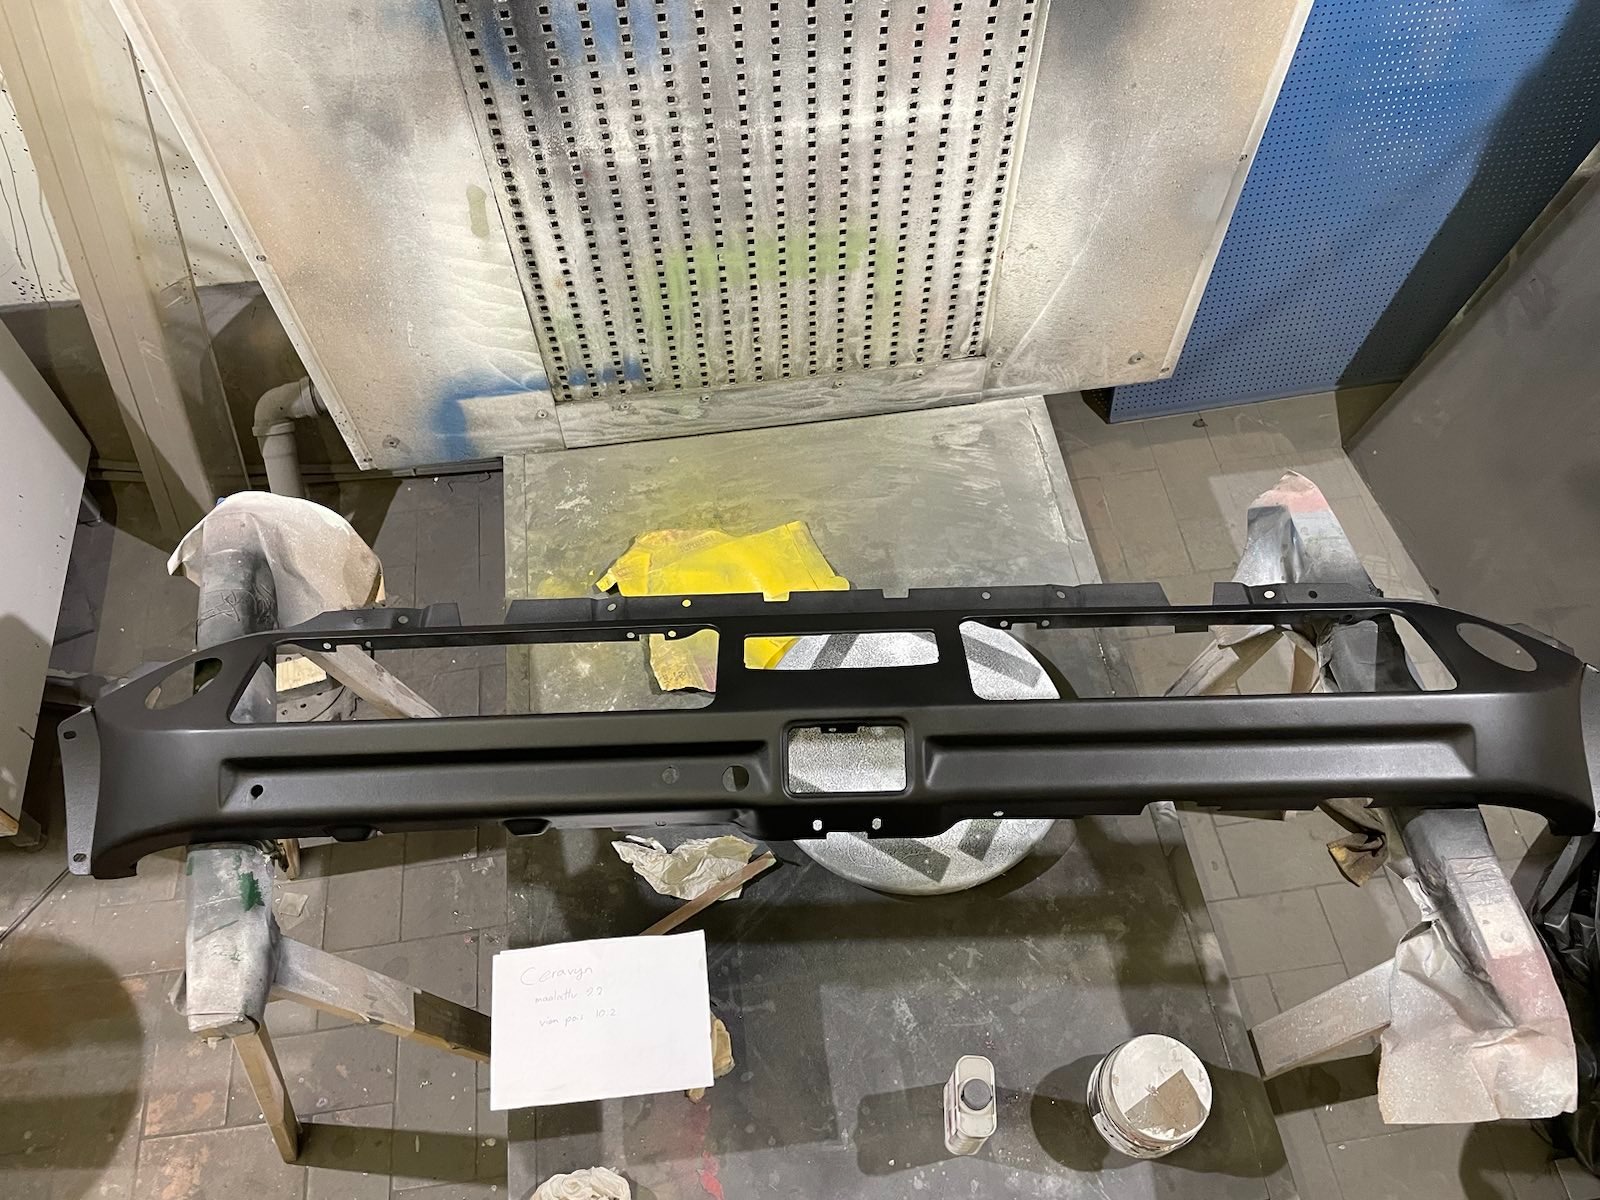
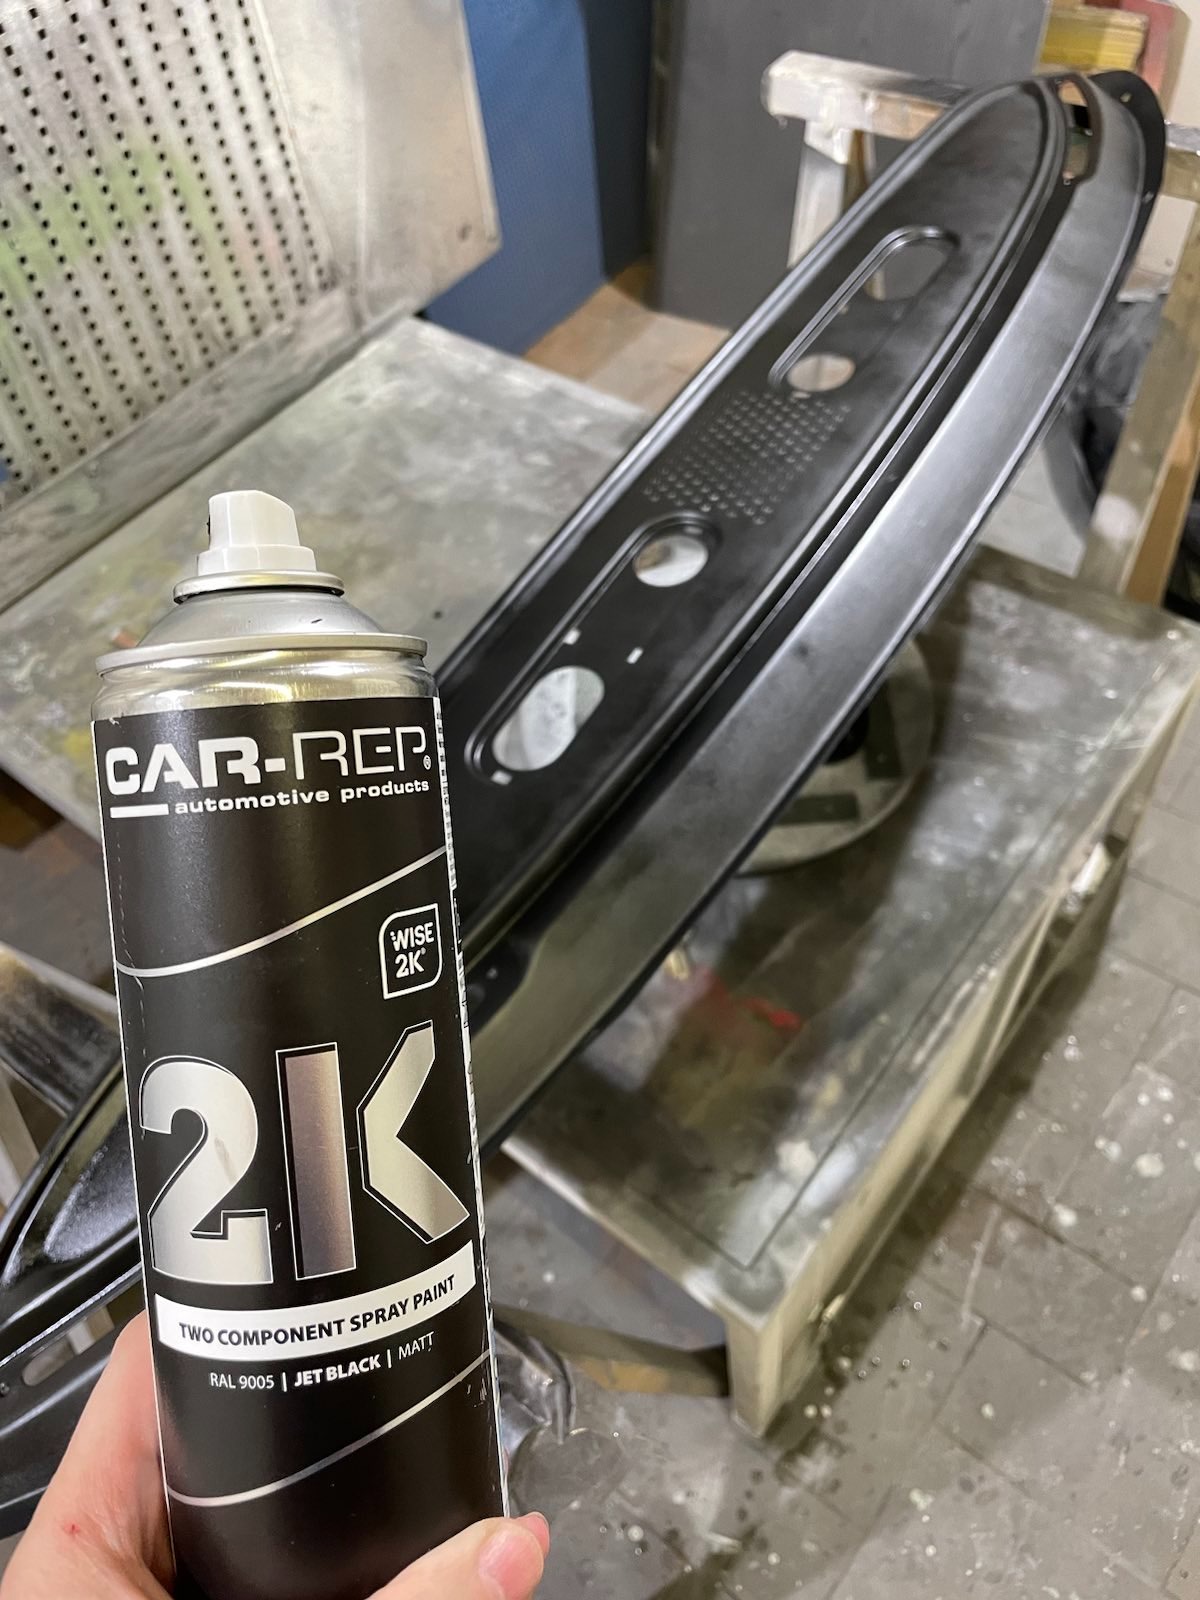
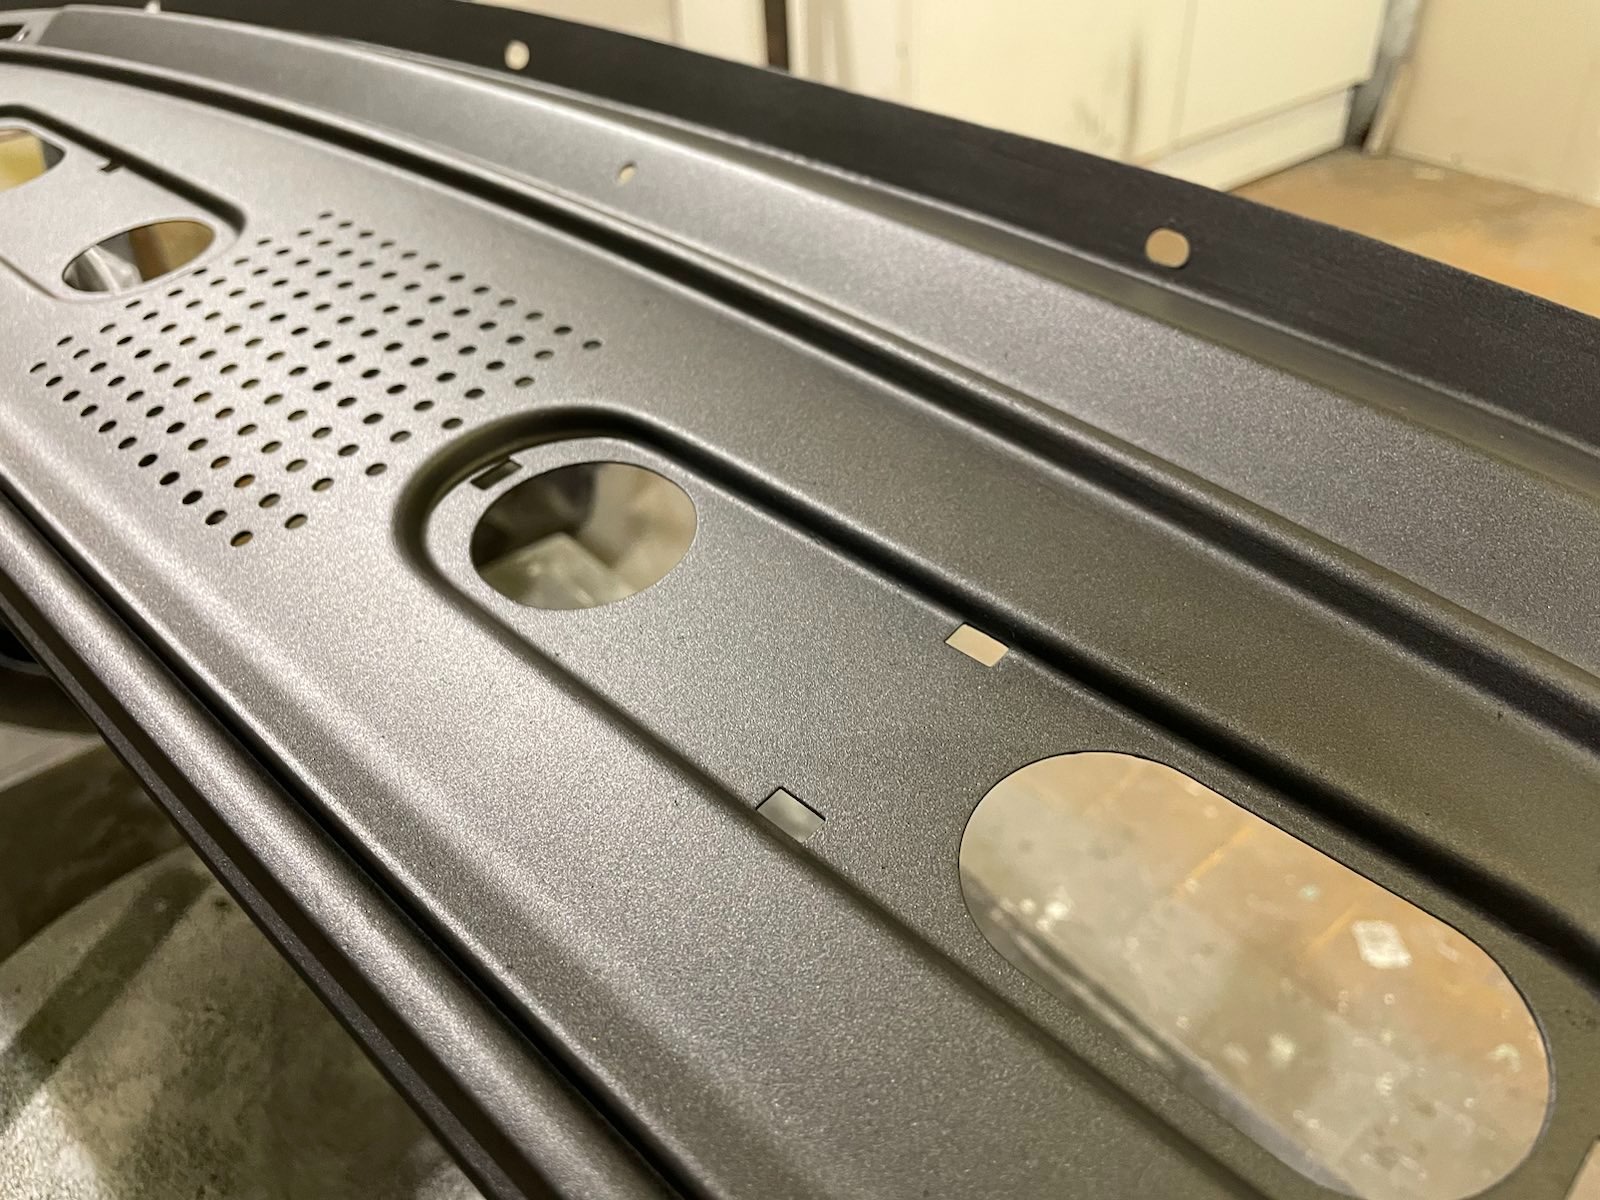
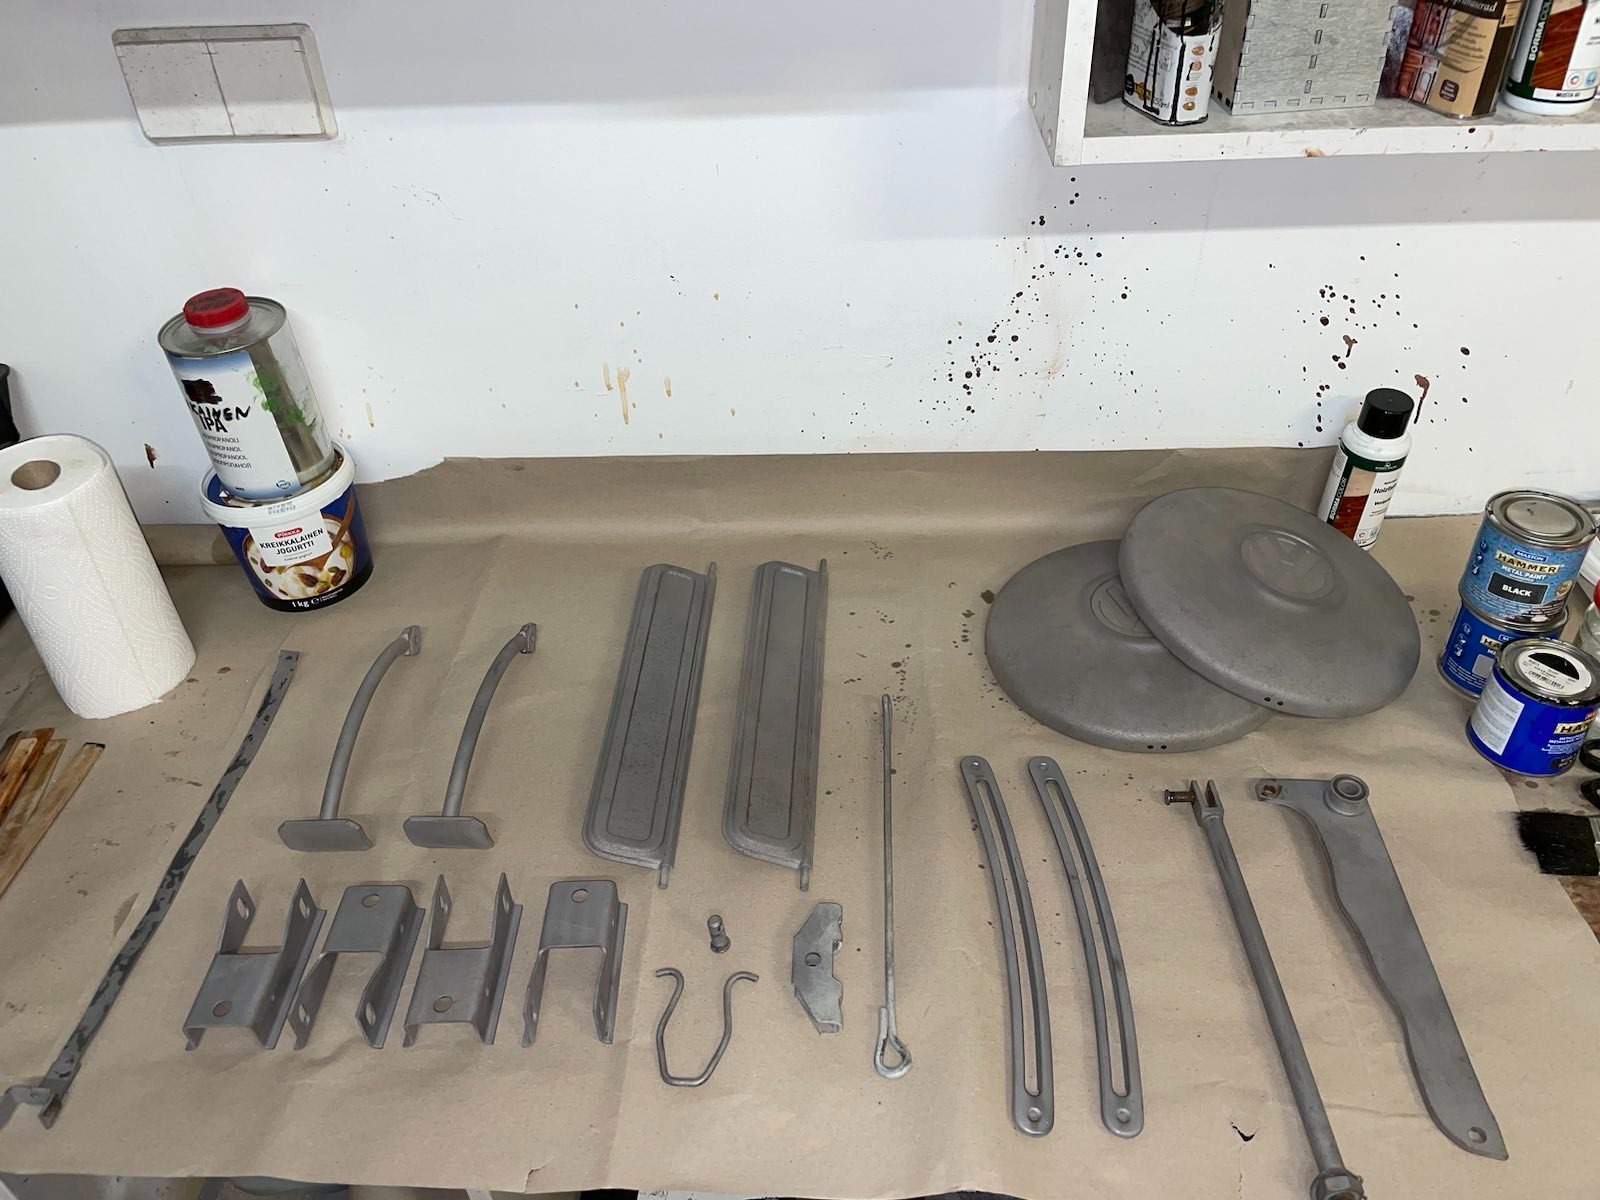
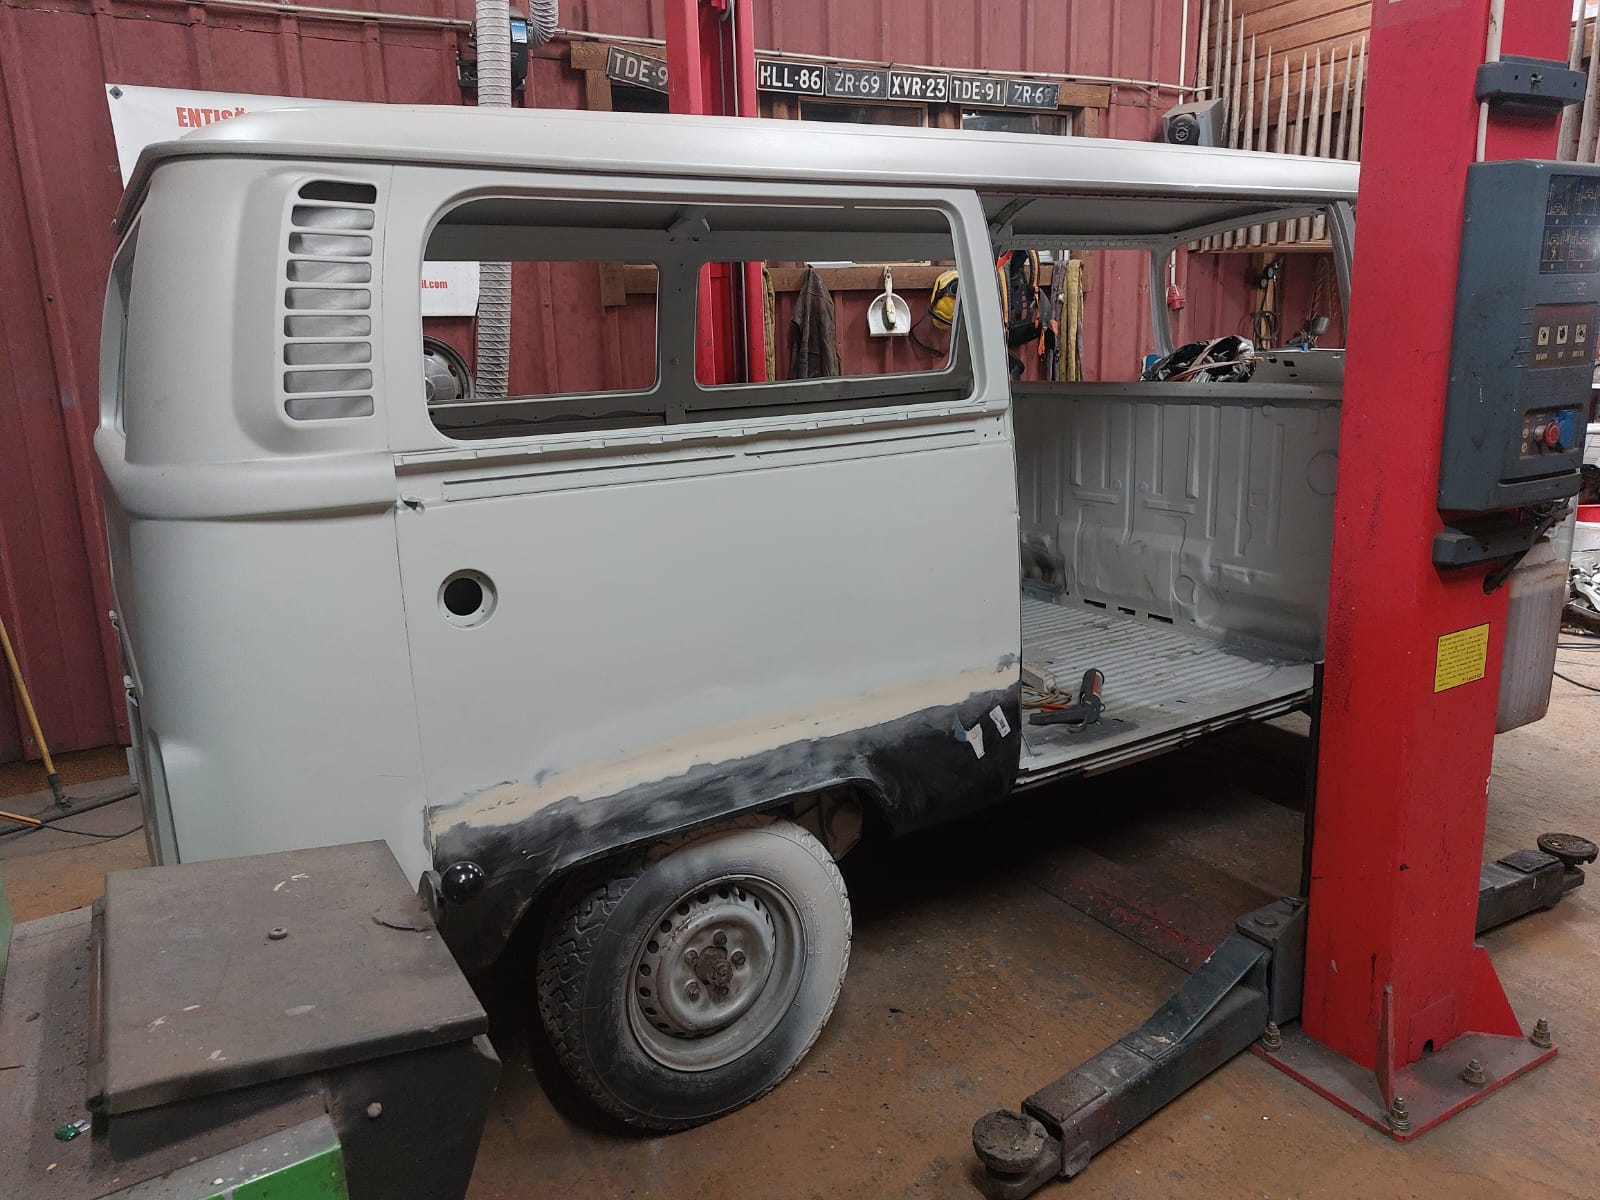
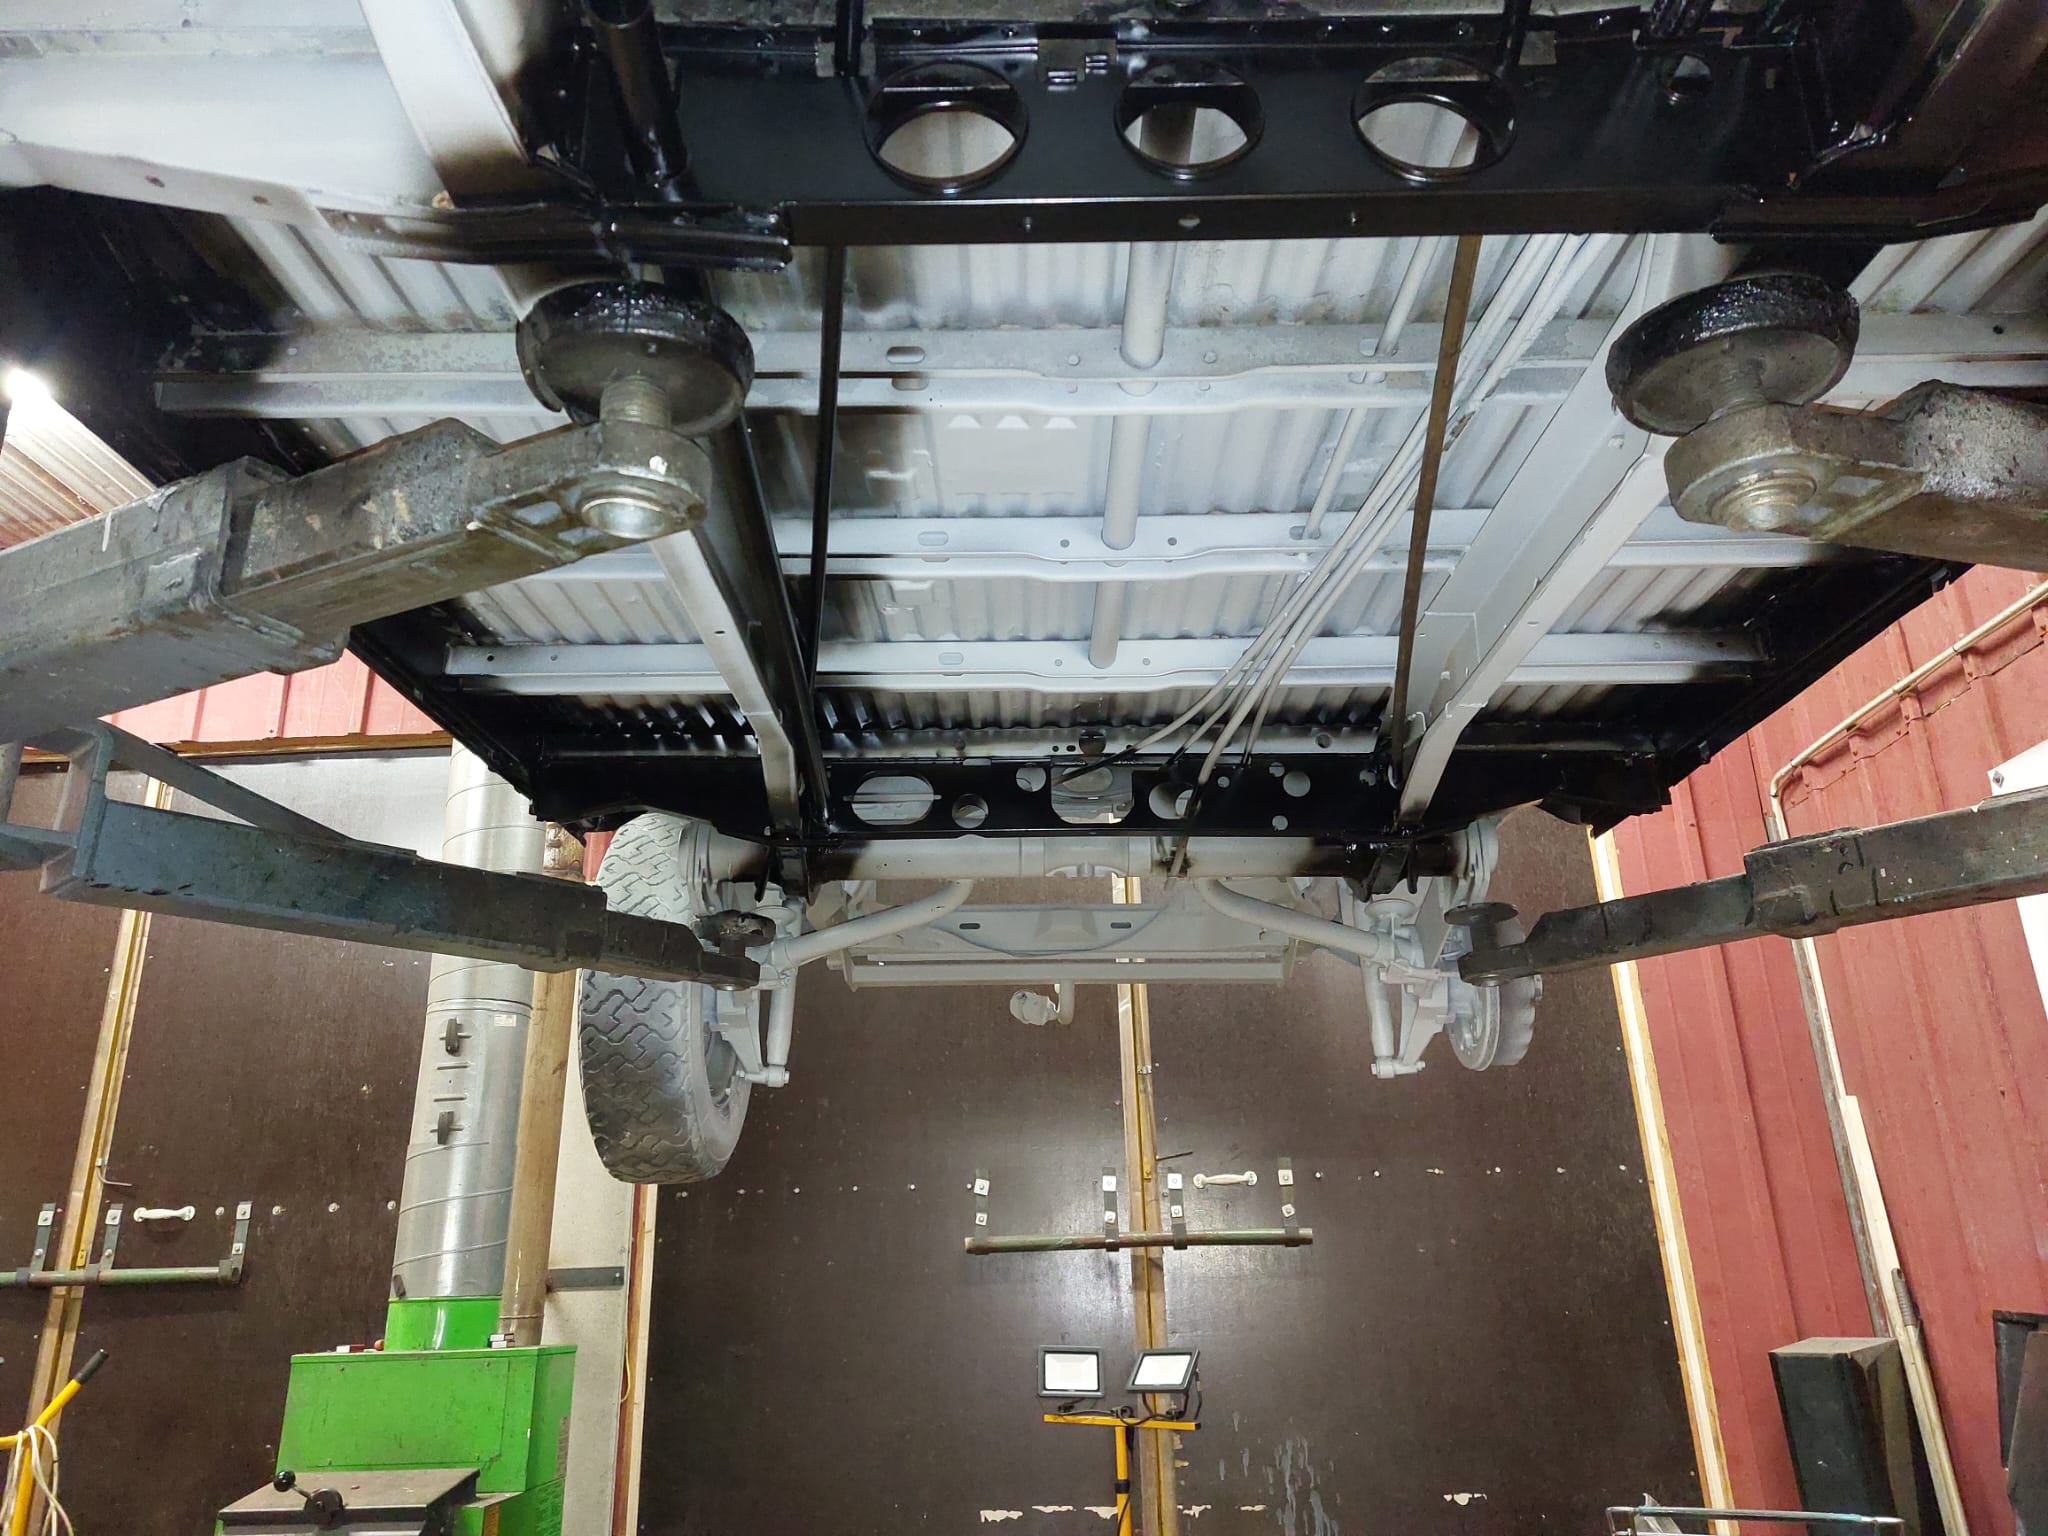
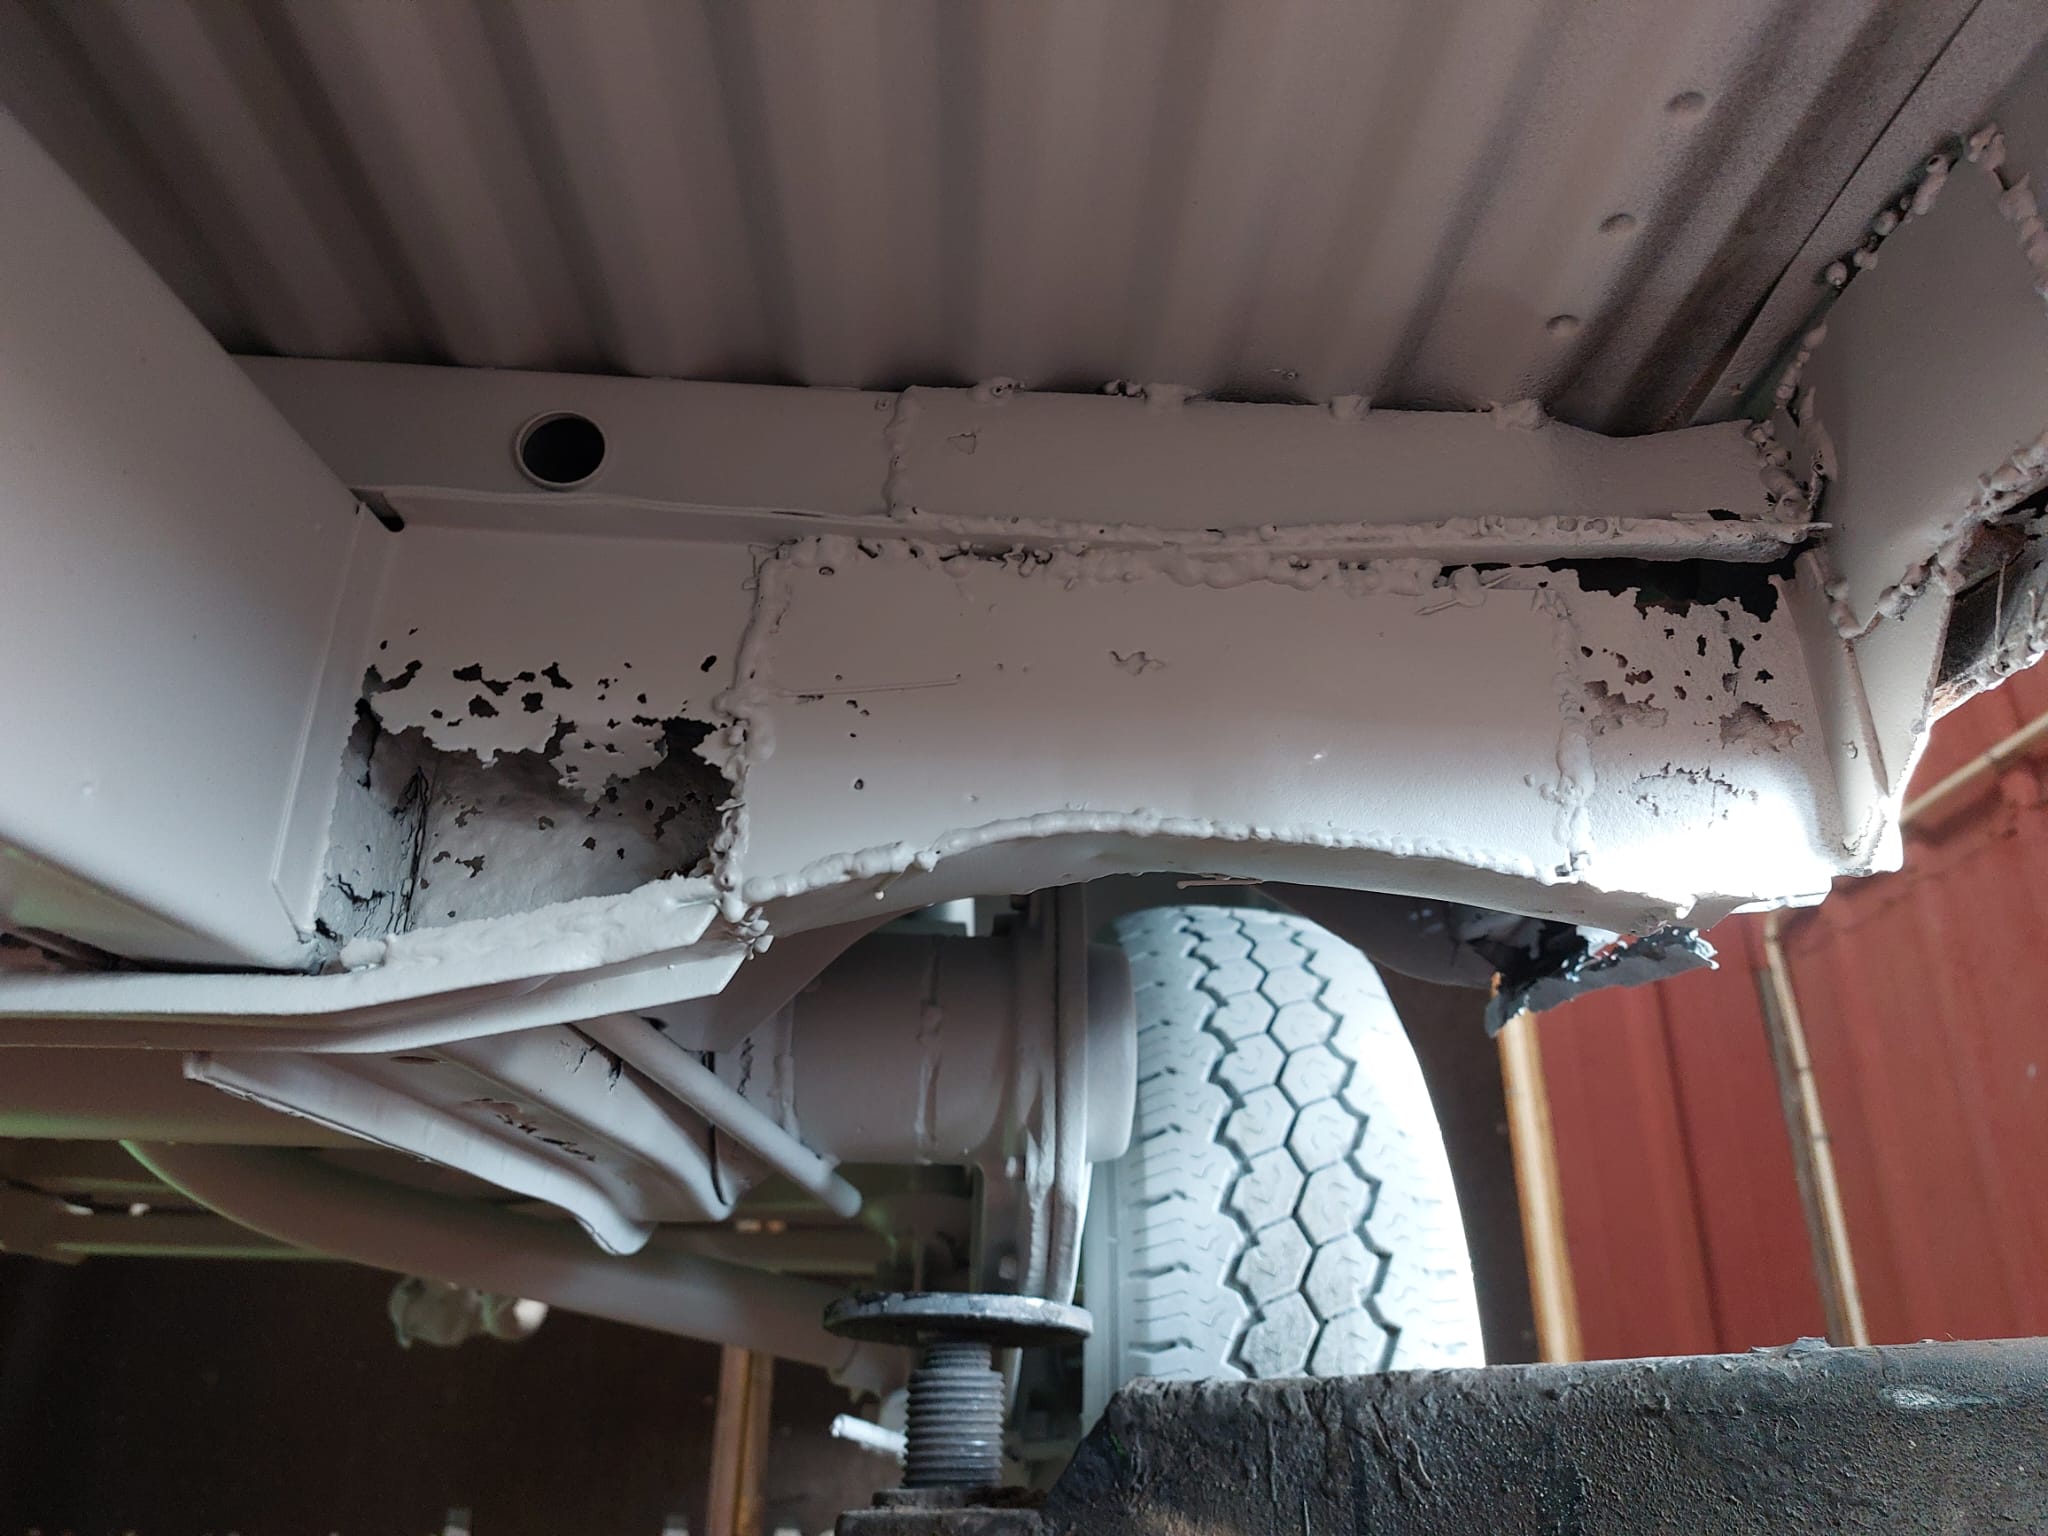
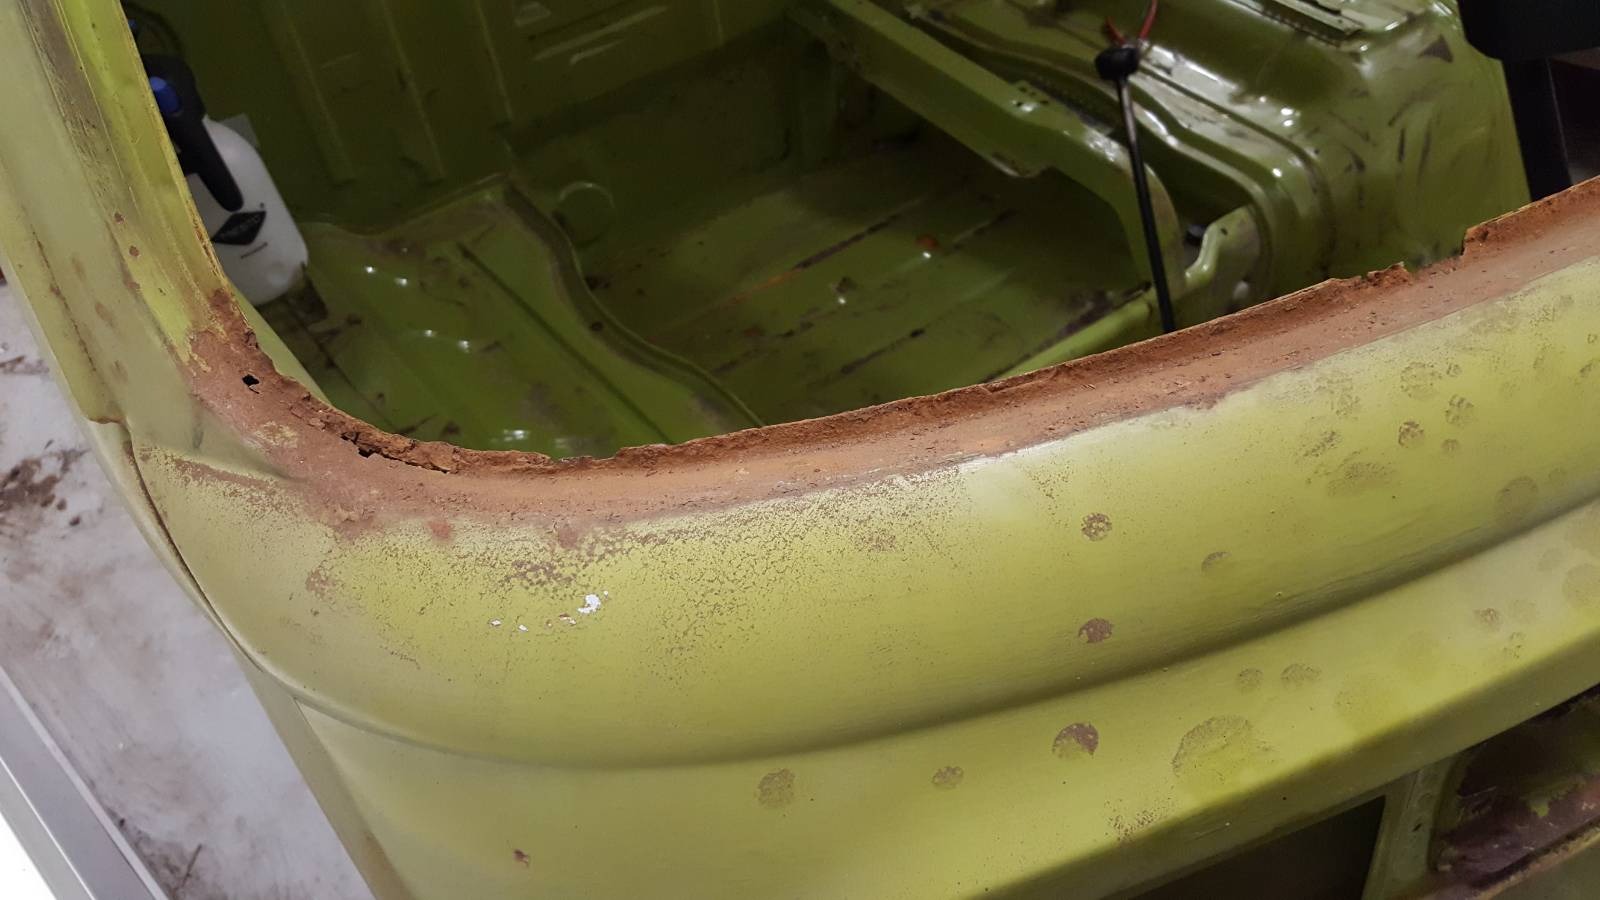
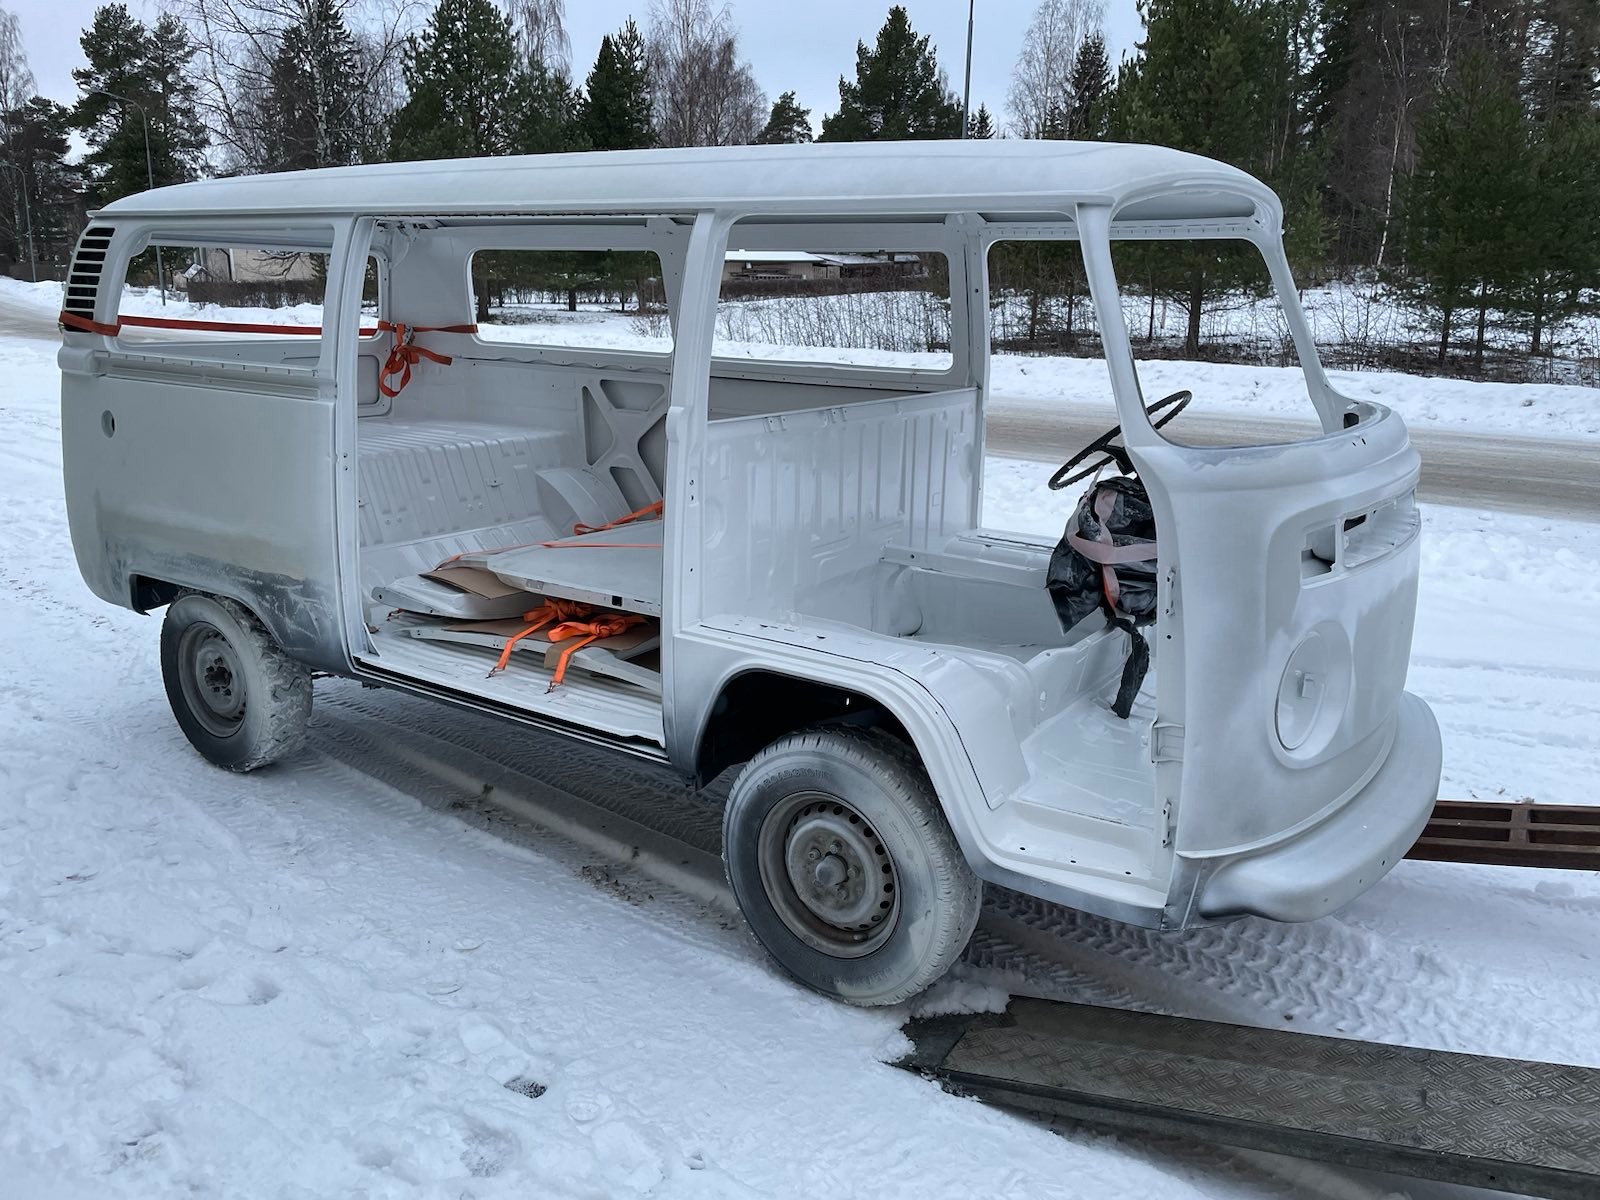
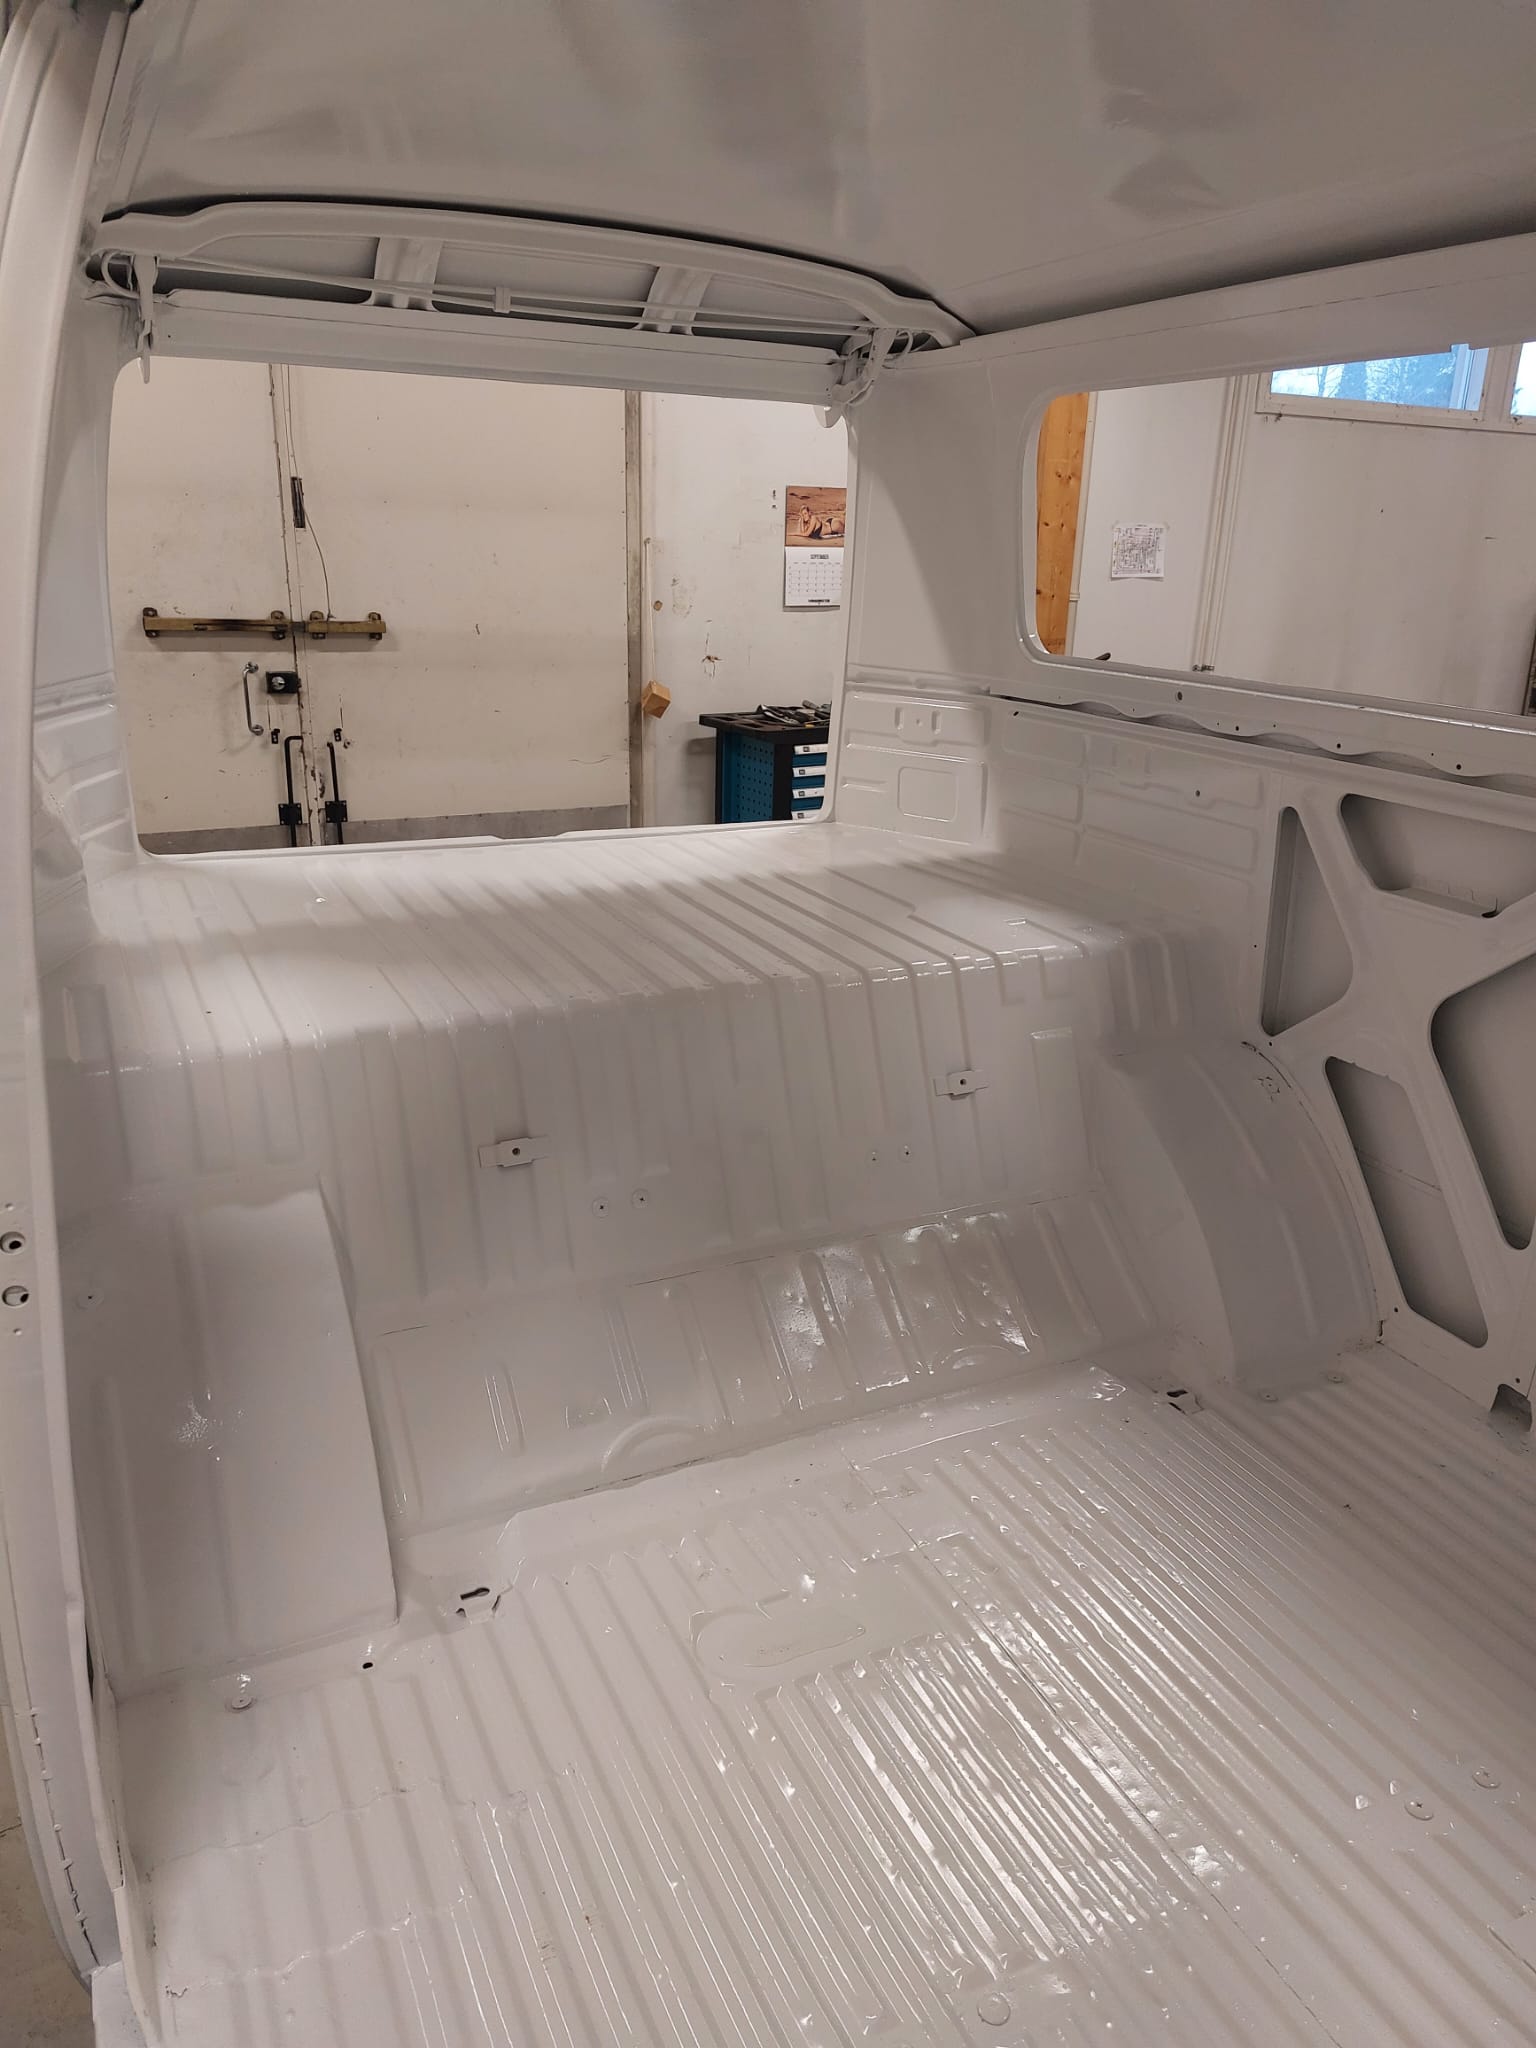
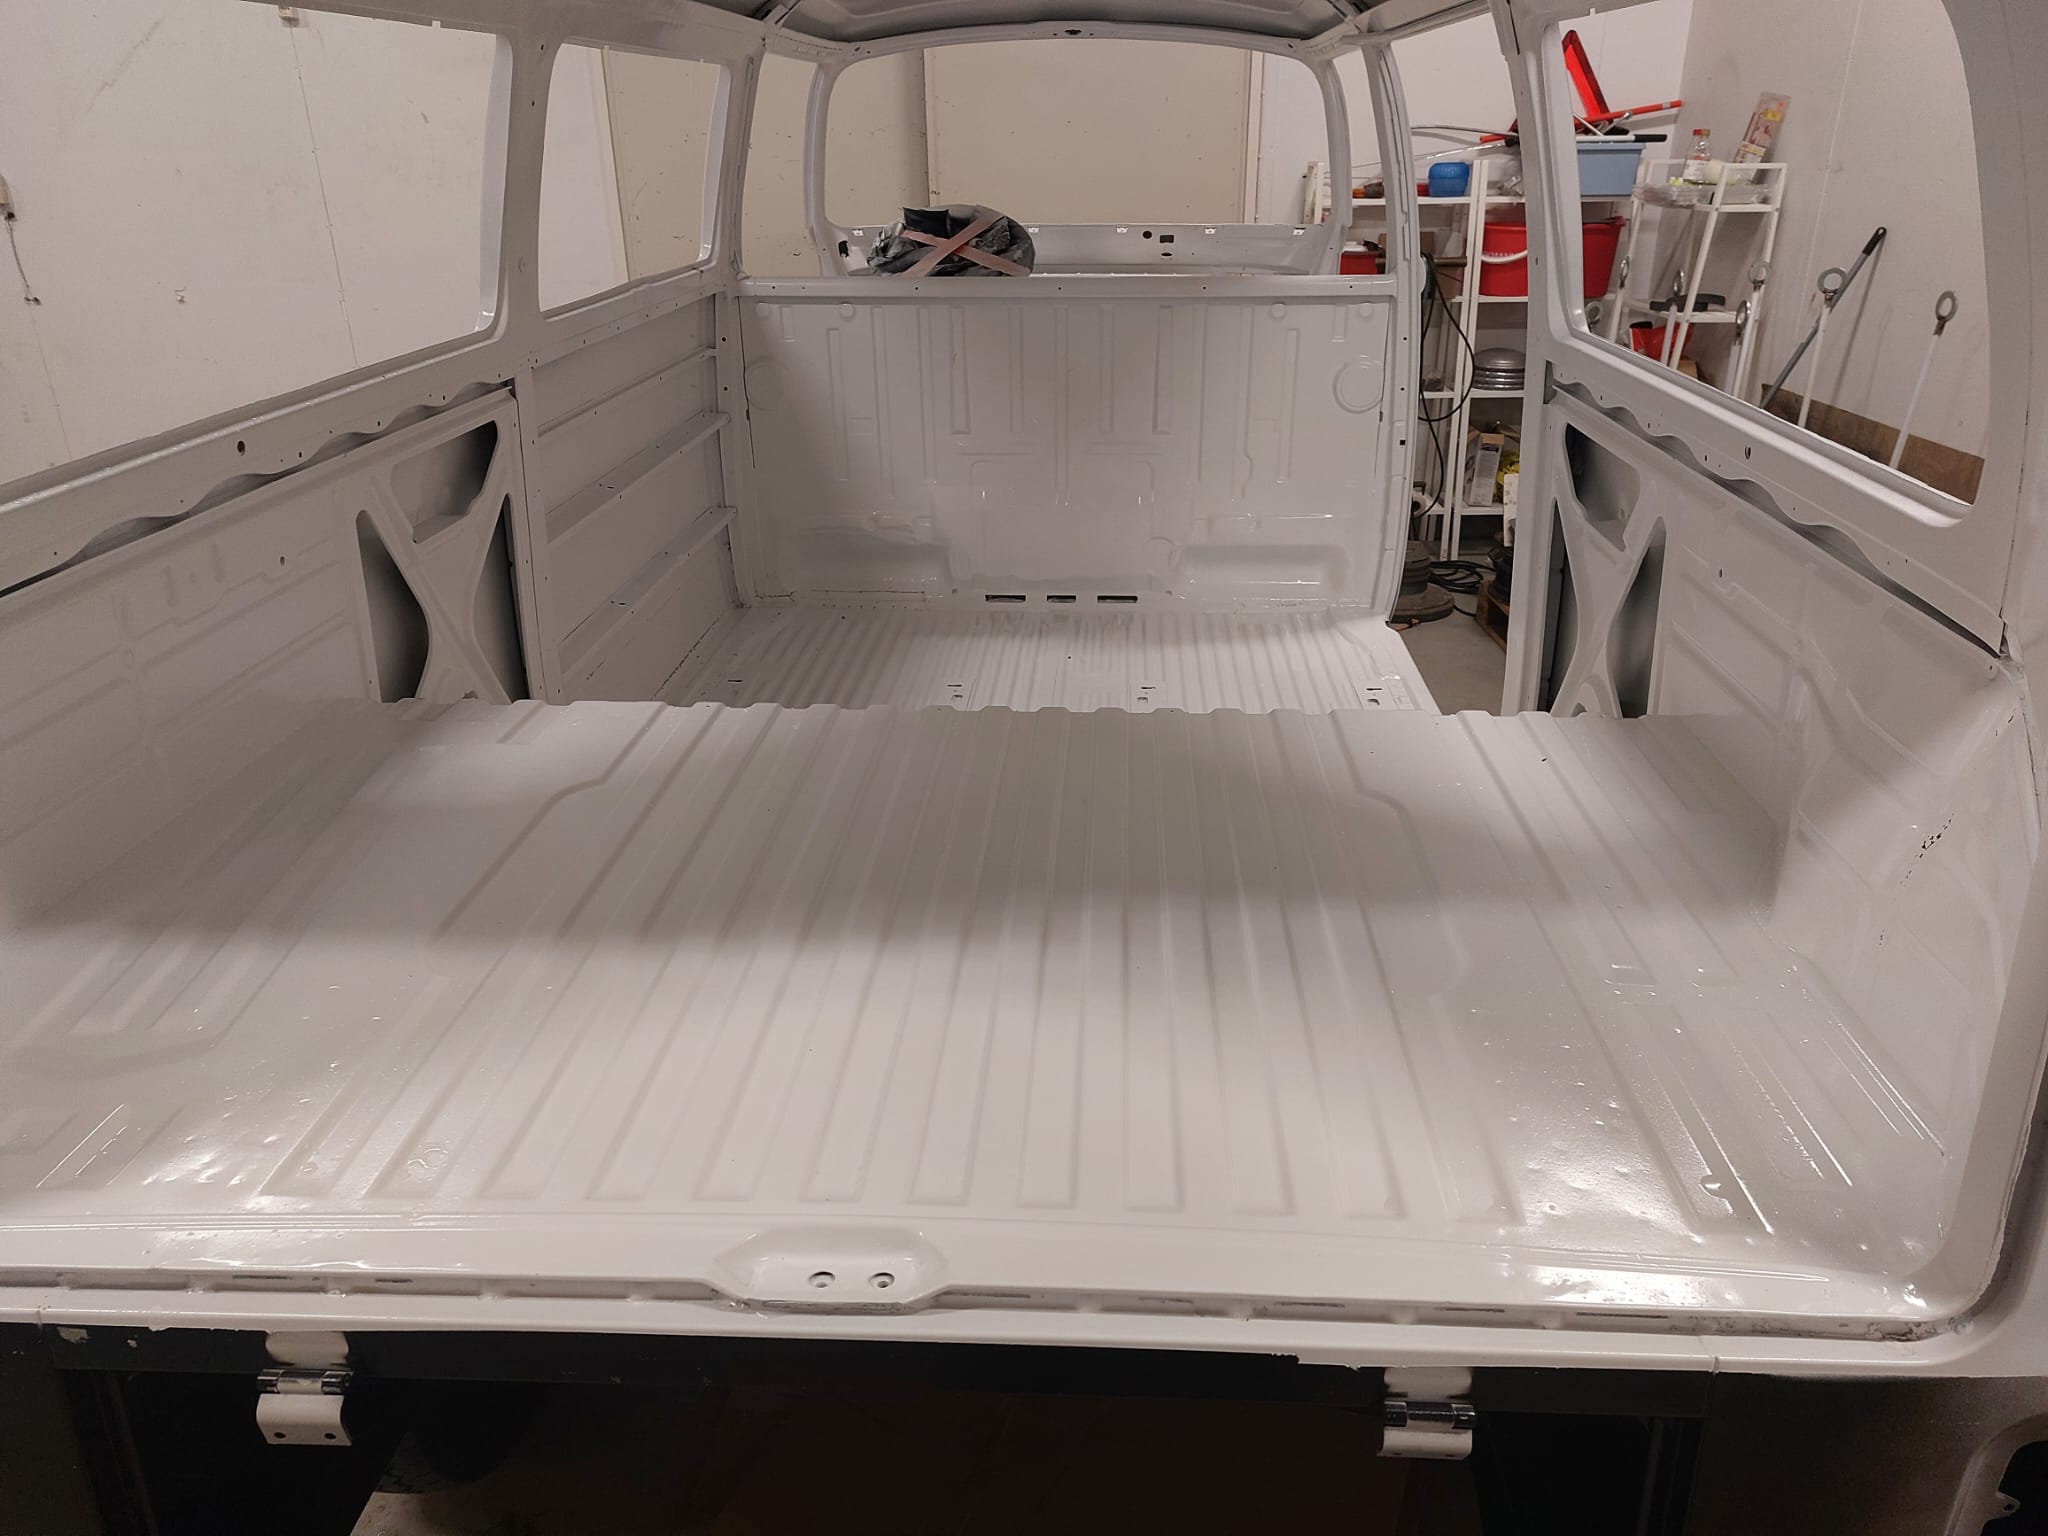
I still don't have any experience in welding nor equipment but it's in professional hands now.
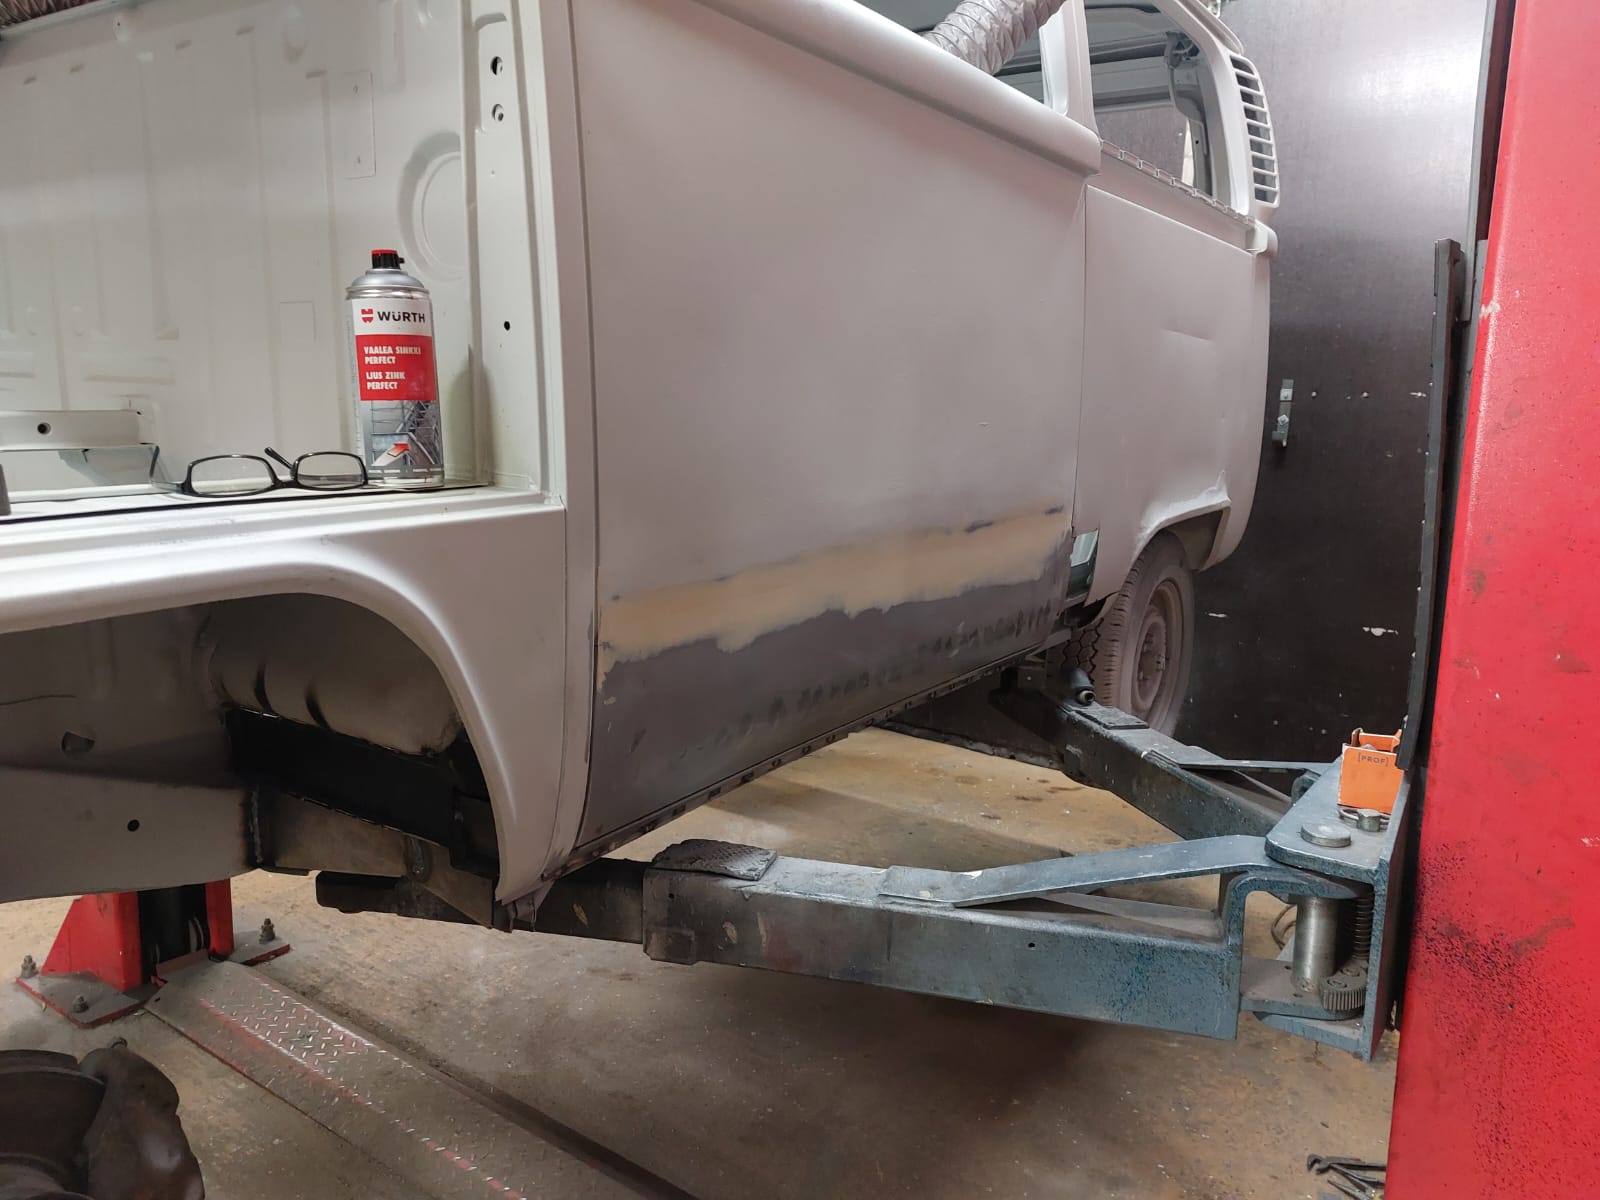
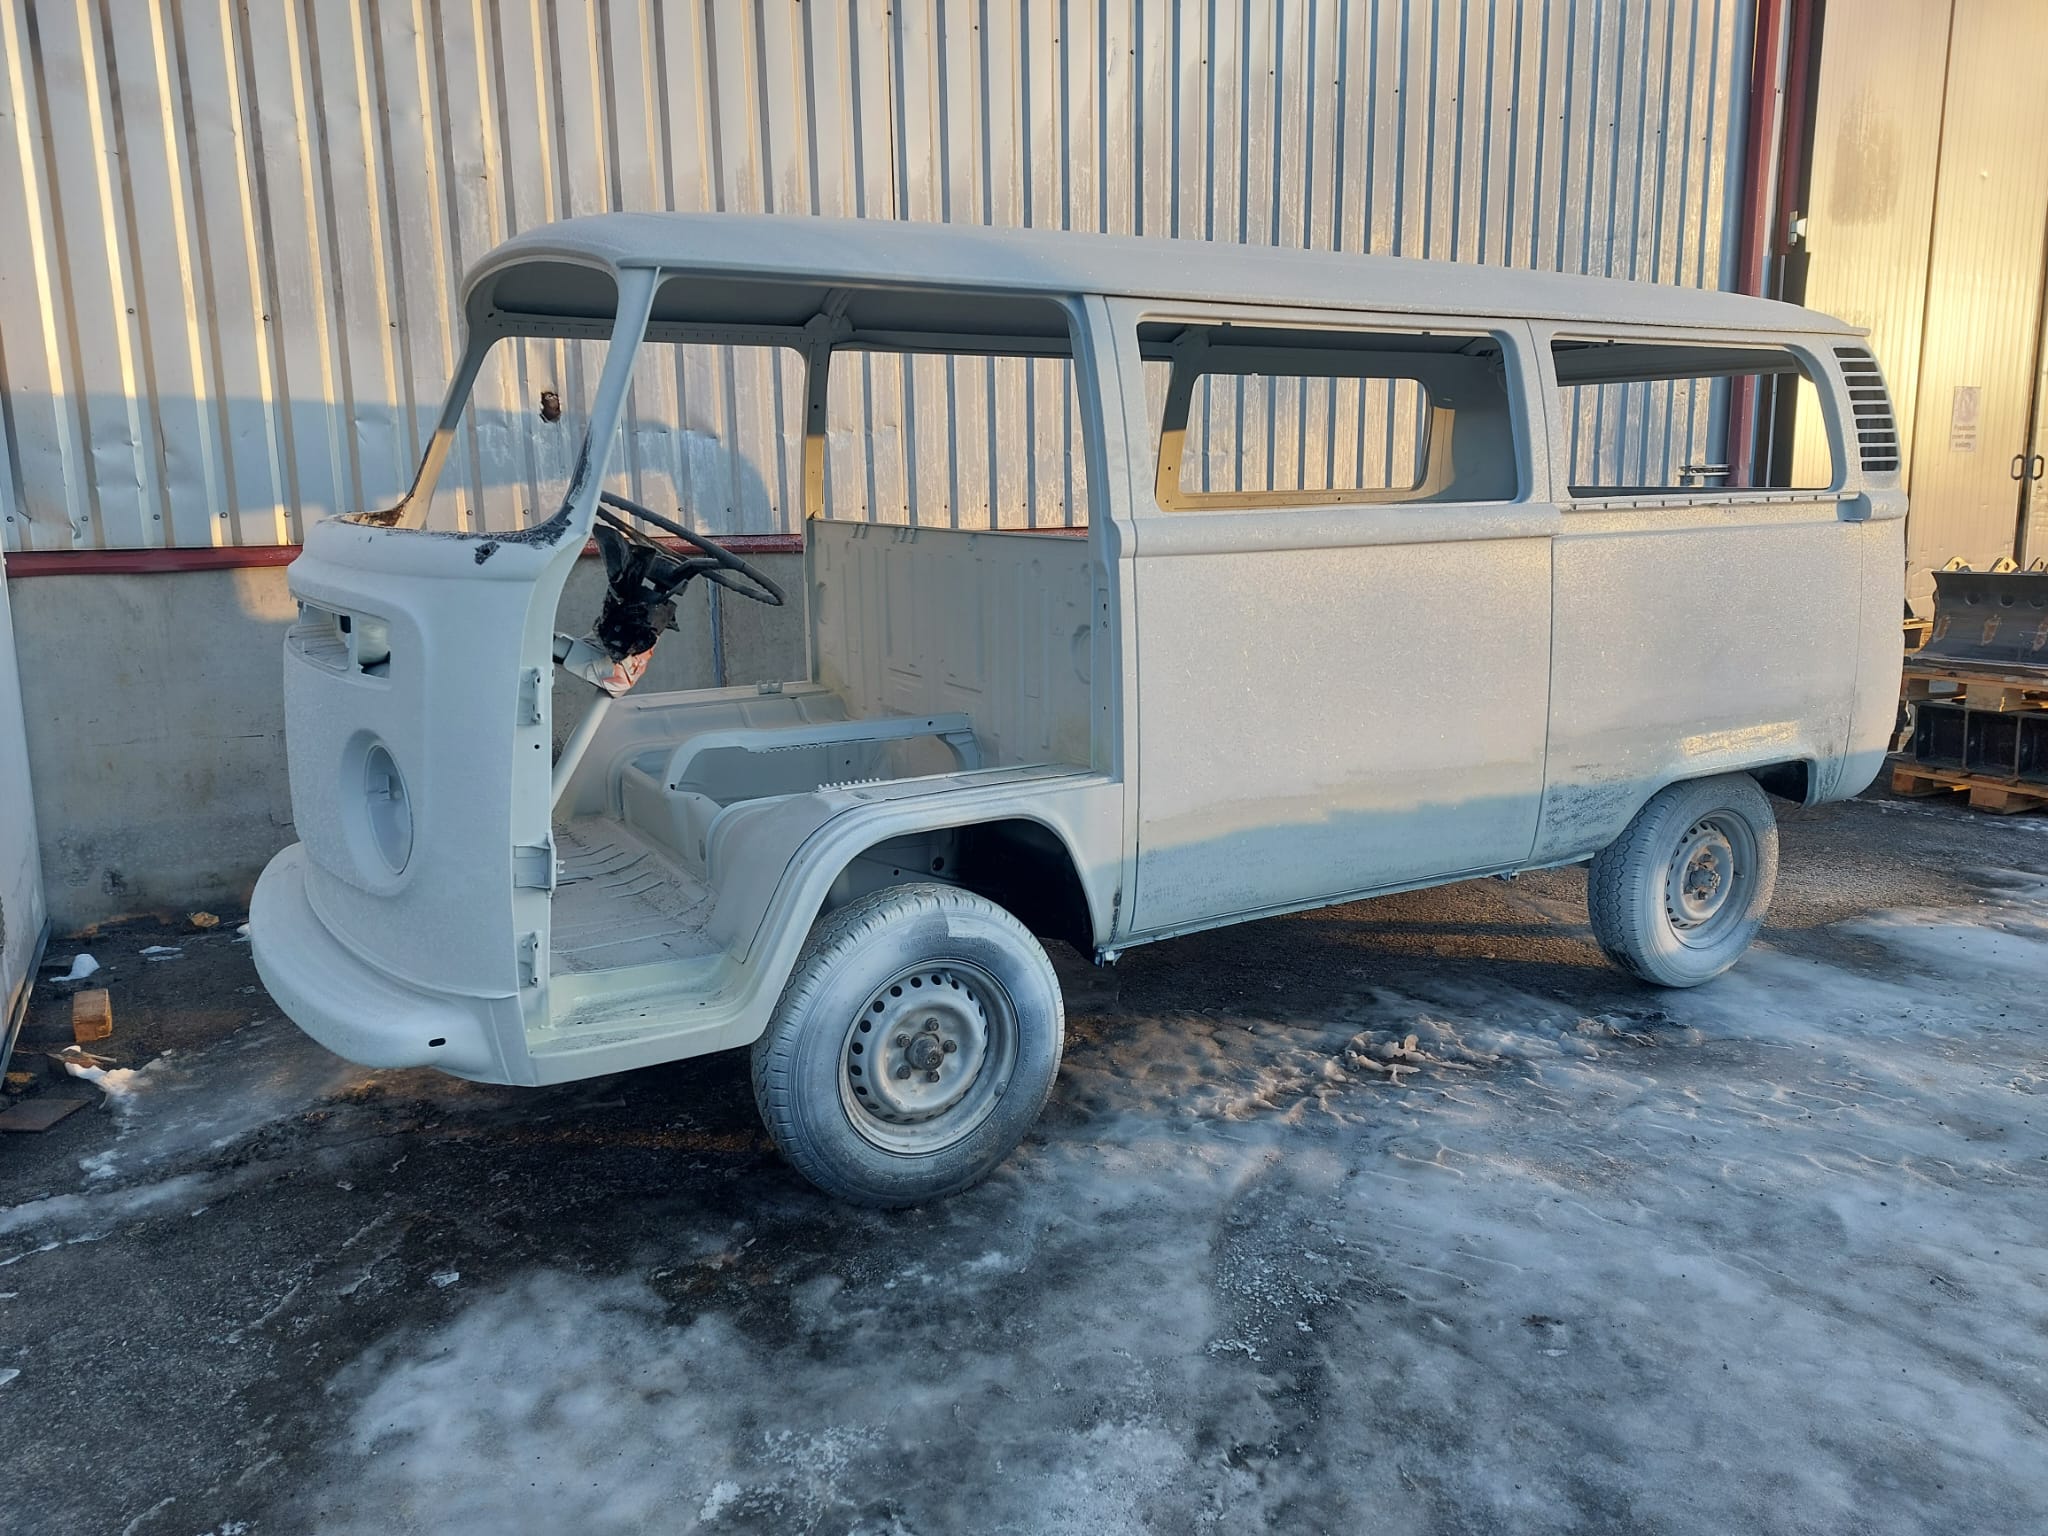
Pricewise sandblasting + base coat ended up totalling 800 Eur which wasn't too bad at all.

fyi I have leaf to vw kits now
I checked! However I'm afraid Canada - EU import fees make them rather unavailable for me

how much are fees? I’ve shipped many parts to the eu over the past few years been no reported issues

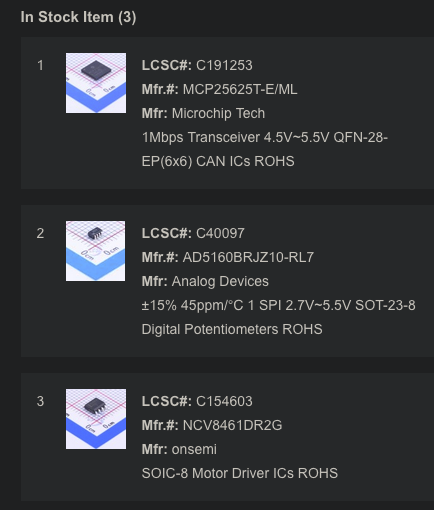
Hi,Cera wrote: ↑Thu Jan 05, 2023 1:06 pm Looking at other things while waiting for the chassis. I ordered Zombieverter almost 6mo ago and haven't really done anything to it since it arrived. Today I checked on the BOM and schematics to list what I'm missing from the board and it seems:
1x MCP25625T-E_ML (IC10)
2x AD5160BRJZ10-RL7 (IC21, IC22)
1x NCV8461DR2G (IC12)
3x FAN3122TMX (IC27, IC28, IC29)
If anyone has info where to purchase these preferably within EU, I'd be glad.I'll research on my own meanwhile but posting this here just in case someone has a quick solution.
Would be nice to have the board soldered soon.

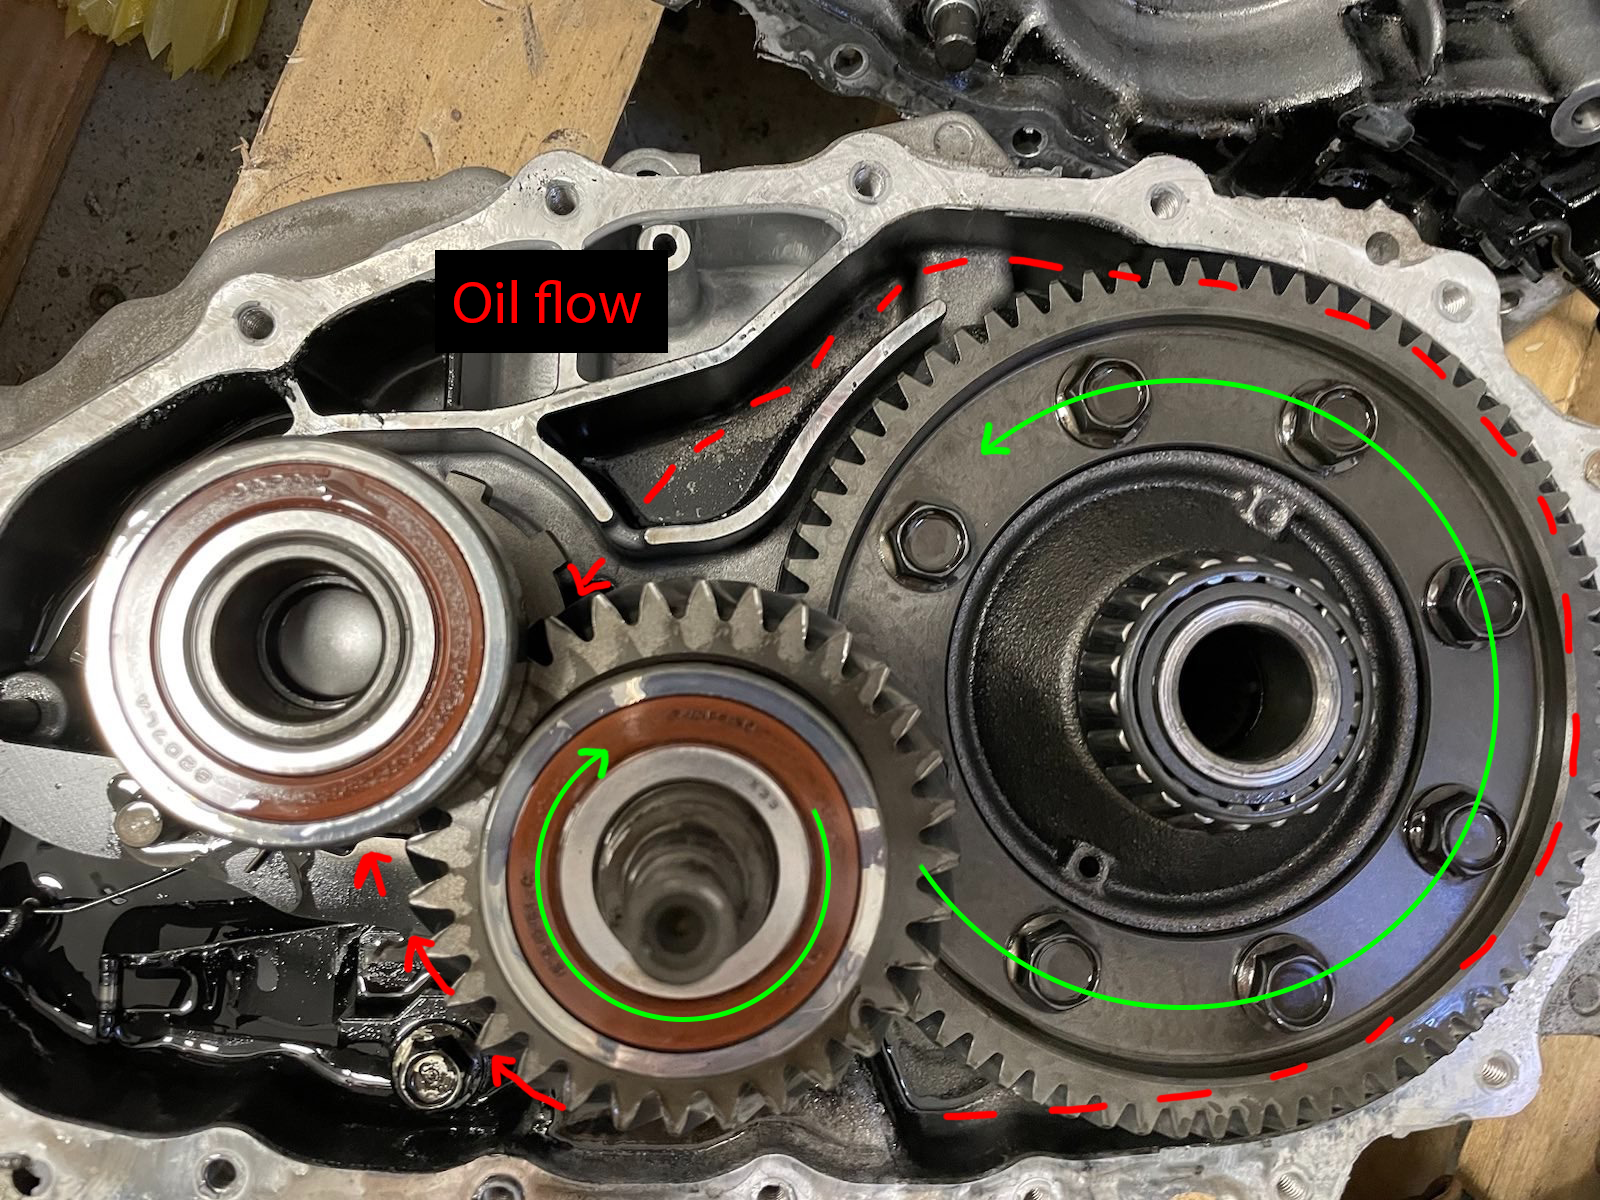
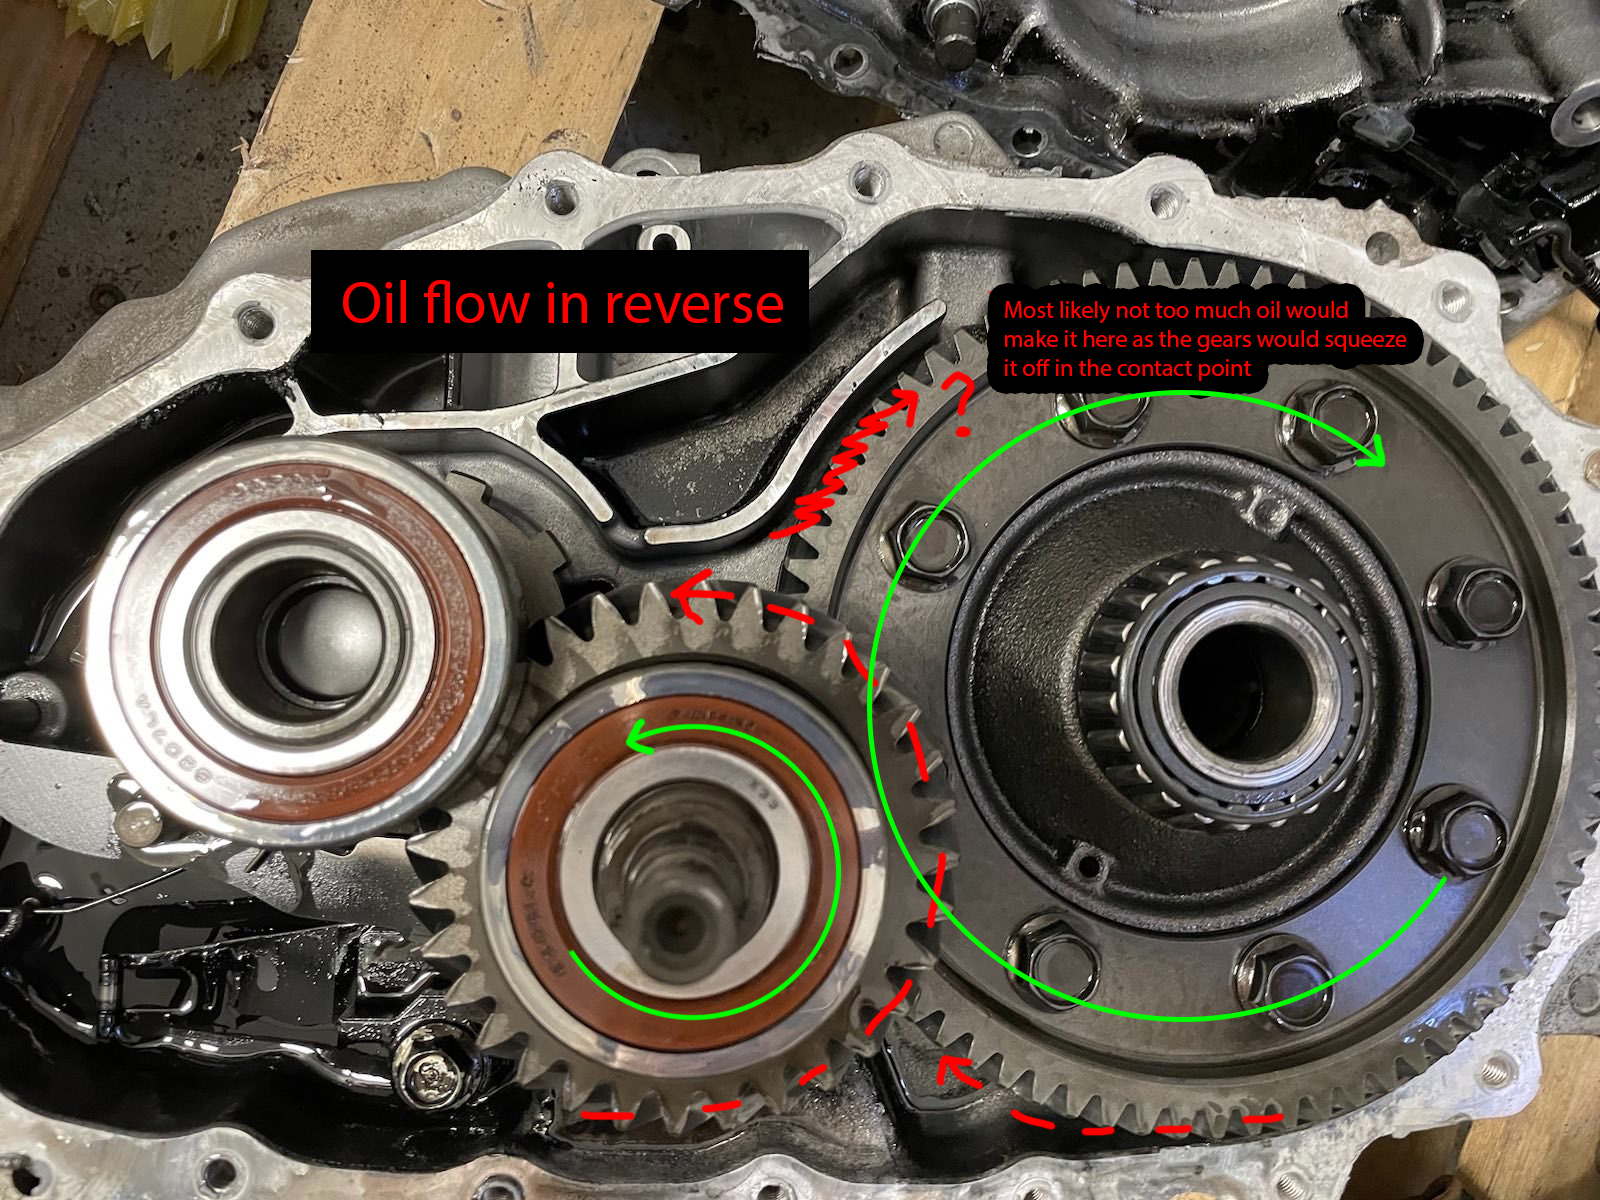

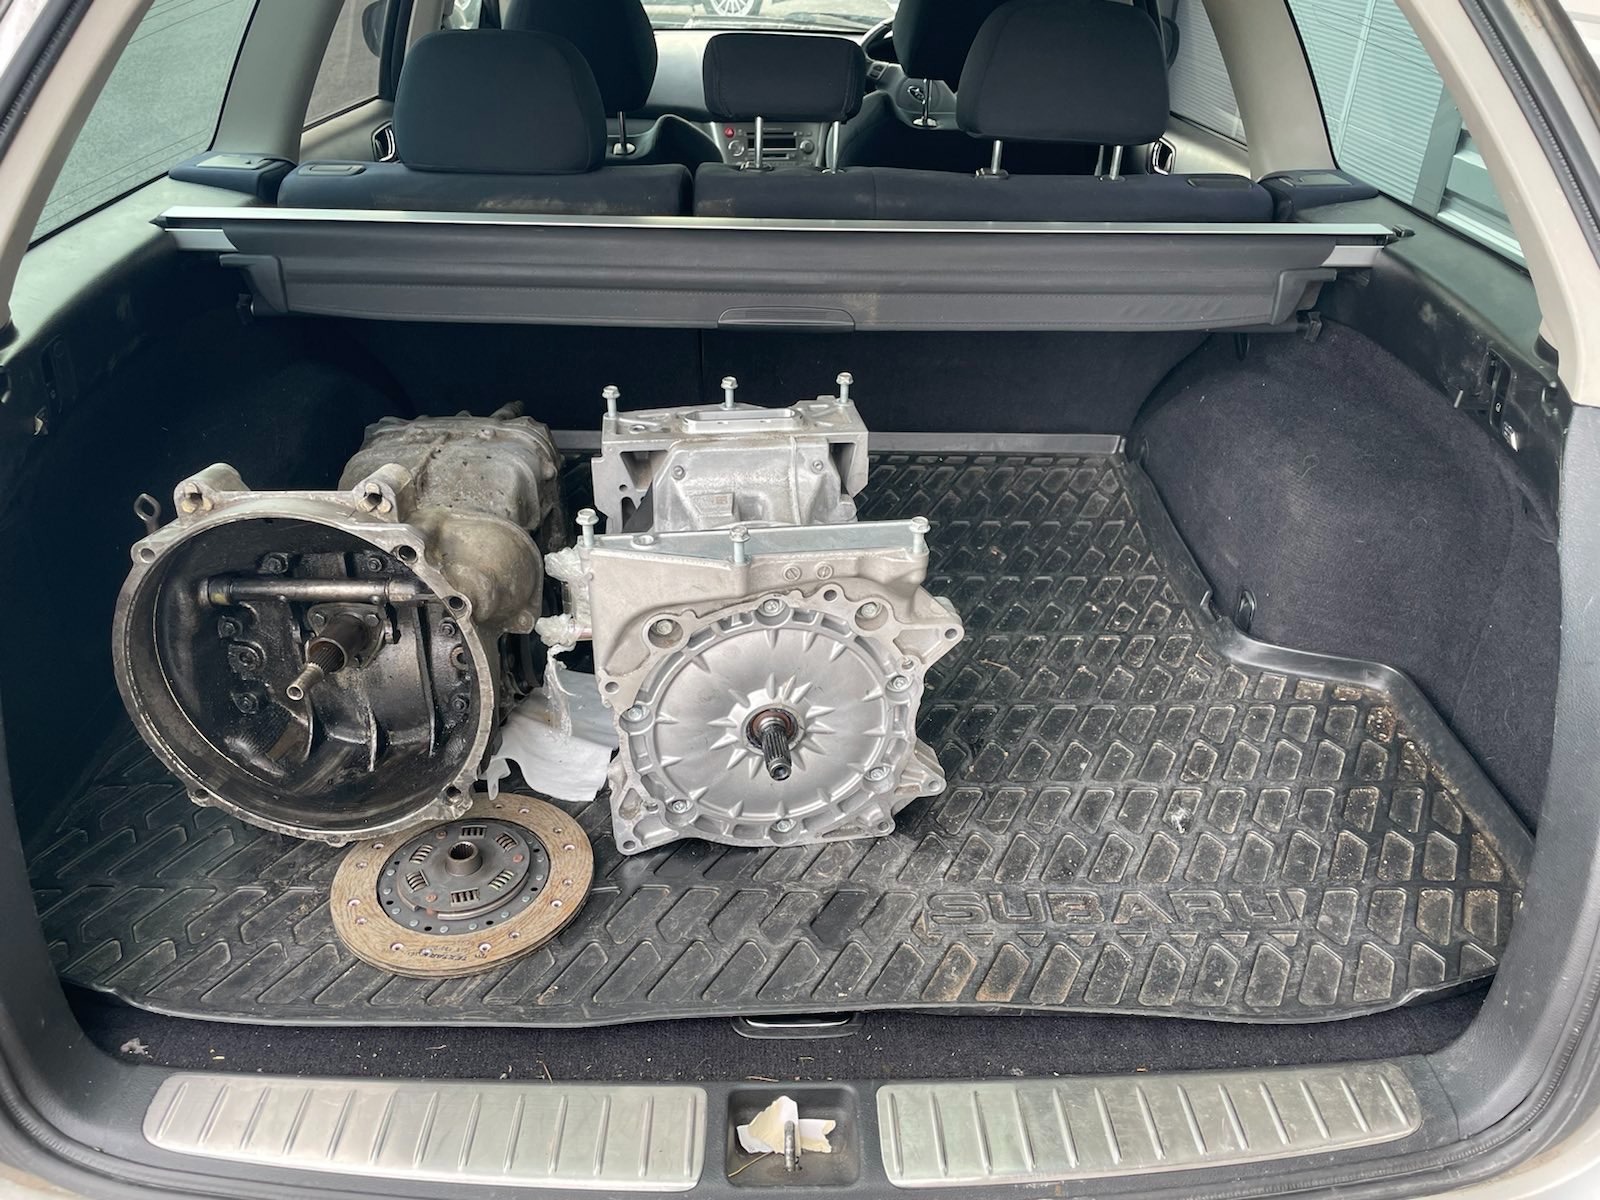
Sounds promising! Since the reported issues have been overheated bearings (like you mentioned too), I'm not too worried about the axial thrust.Romale wrote: ↑Tue Jan 10, 2023 2:58 pm It is likely that if you apply atf slightly above the standard level and you have closed bearings, then there will be no lubrication problem. The problem may arise in another, will the oblique teeth of the gears be able to work adequately by applying axial displacement forces in the other direction? I wouldn't worry about lubrication at all, just pouring, for example, 1.5 liters of oil instead of the required 1.
Ha yes my thoughts exactlyBratitude wrote: ↑Tue Jan 10, 2023 8:48 pm using the leaf gearbox is going to defiantly be more efficient ! the closed bearings defiantly change things for running in revers. as romale said, slightly over filling might be the simple trick.
theres also a few accounts of the gearbox running in revers with no problems. with over 4000 km on them. i wonder if these are the closed bearing types?
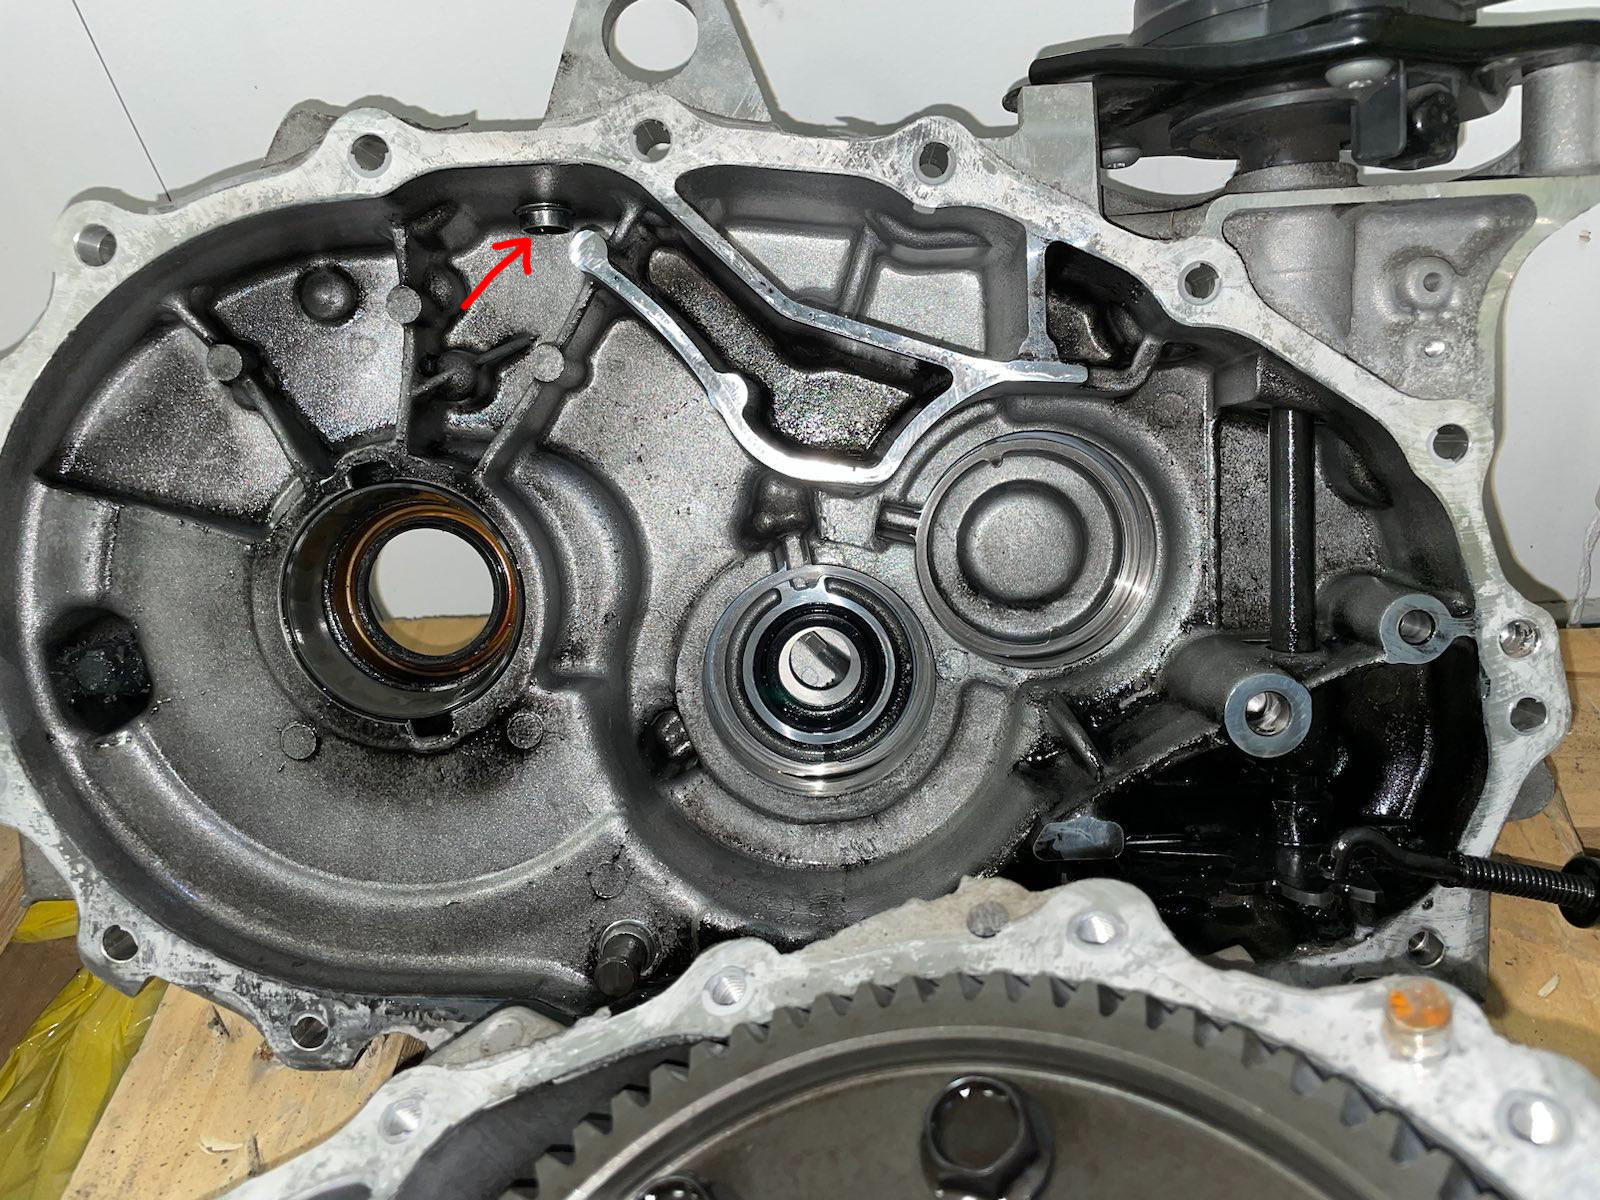
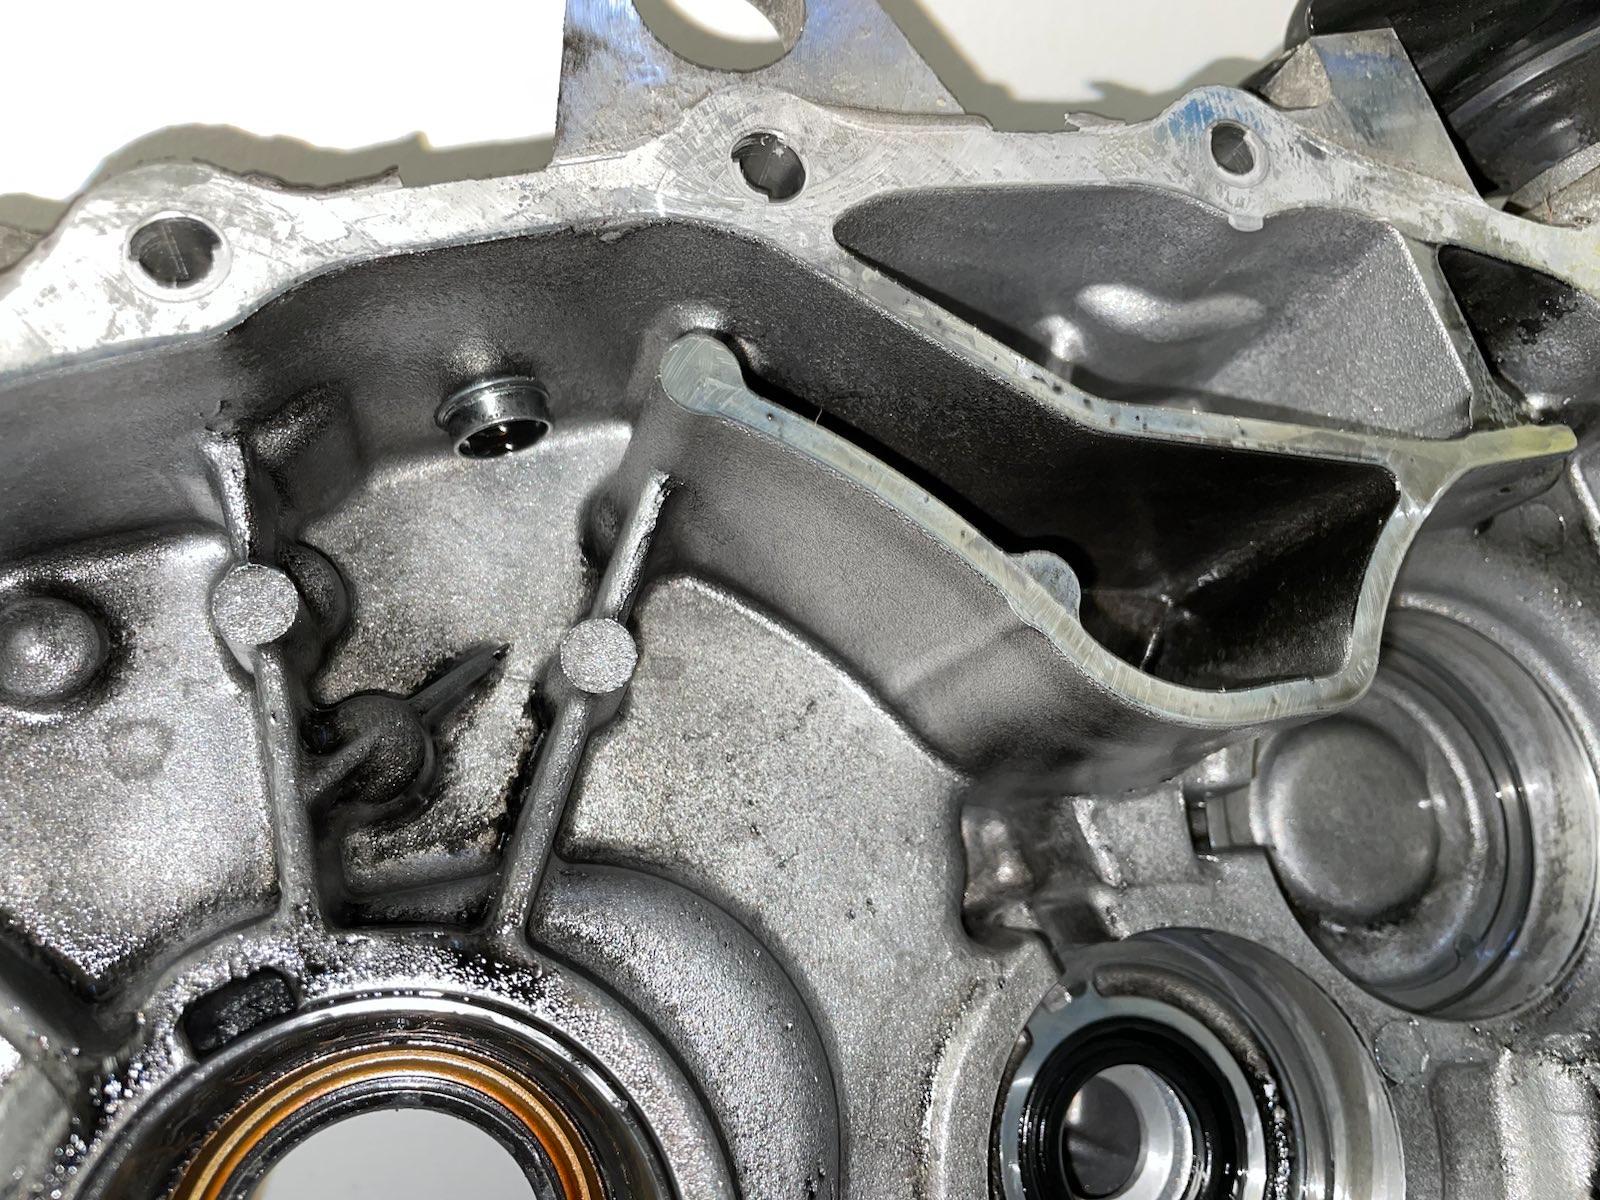
looks to be (on my gearbox at least) a few threaded ports that would work for an oil feed. thinking of making a screw in insert to spray onto the gears. at least leaf gearboxes are cheap, so if they blow up we can try again
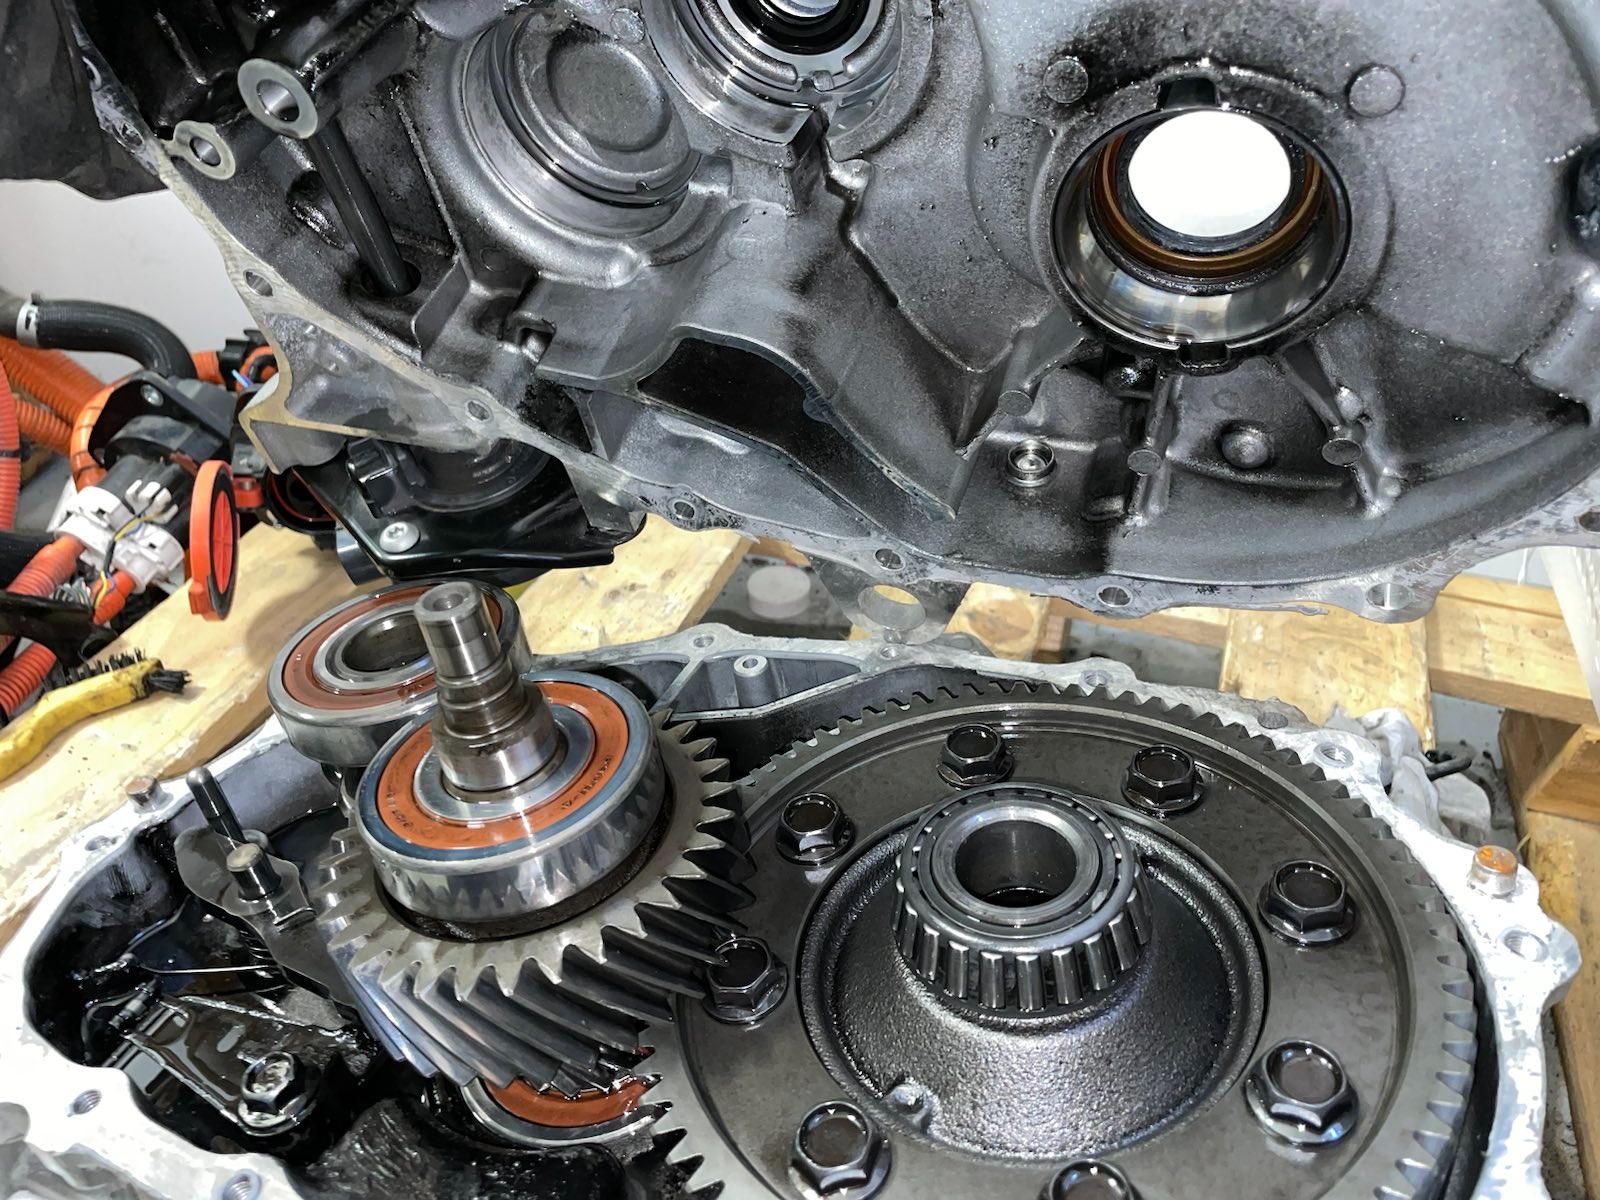
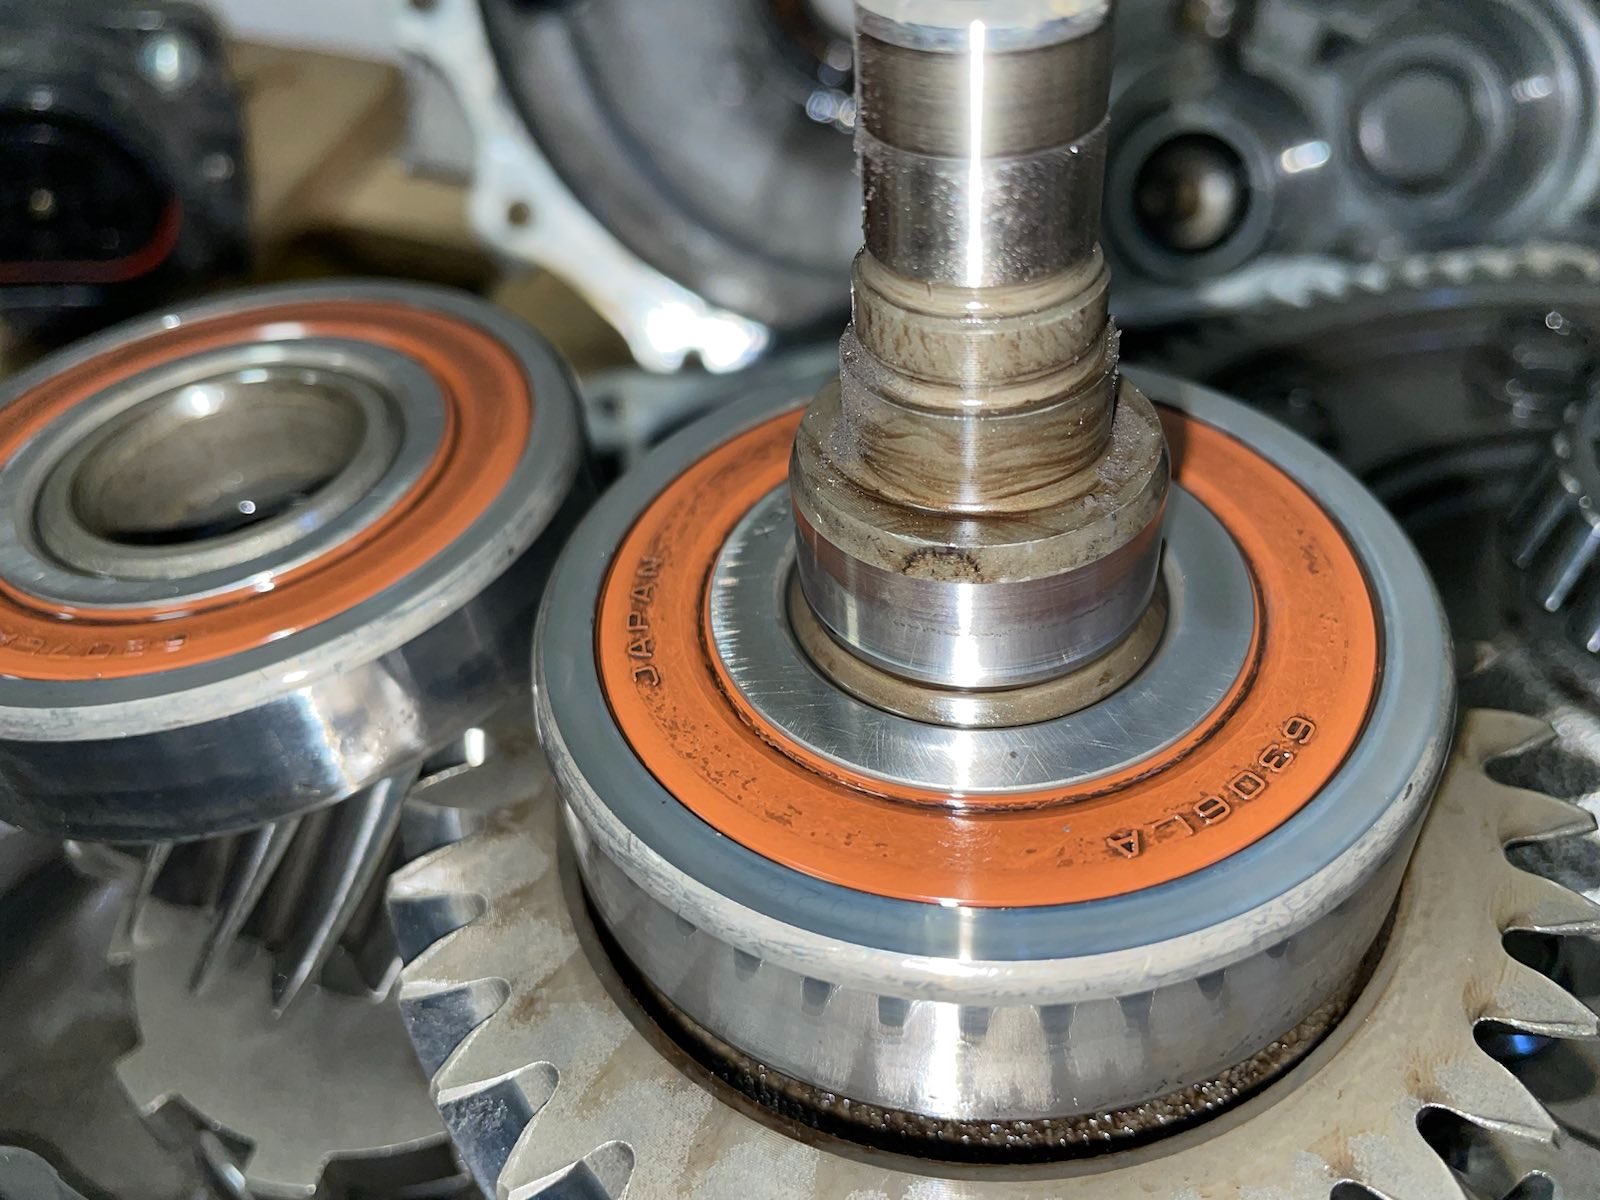
Sadly I didn't find any manufacturer markings on them with a brief look, just the sizes 6306 and 6207, will post if I find some more about them later.
Fair enough, thank you. If you could tell us the sizes of the bearings on the other side that would also be very helpful. It's possible they have changed from the open bearing size, would like to verify that.